Aileron assembly
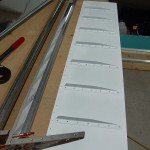
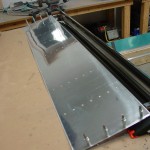
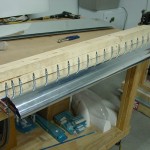
Hours: 2.0 | Posted in AileronsBack-riveted the stiffeners to the aileron skins, then proceeded with the assembly of the left aileron. Clecoed the bottom skin in place, drilled the ribs, deburred and dimpled. Then installed the bottom skin with the two “keeper rivets”, and clecoed the top & nose skins in place as described. The nose skin puts a great deal of force on the aileron, and the trailing edge goes really wavy, but I’ve read this is normal. Tomorrow’s task will be building the flat table for the driling & riveting of these guys, and I need to get some weights of some sort–sandbags or lead shot, I’m thinking–to hold the aileron flat to the table.


