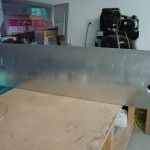
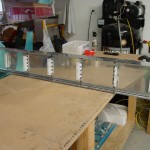
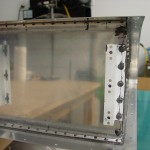
Right tank rear baffle
Hours: 5.6 | Posted in Fuel TanksOpened the second can of Proseal, and installed the right tank rear baffle. Same process as the first, using the ziploc bag of sealant. Butter the rear of the ribs, drop blobs in the four corners, lines along the rivet holes, butter up the baffle seams, and drop it in place. Cleco every other hole, rivet on the Z-brackets, squeeze the skin-baffle rivets. Fillet the rear seam, encapsulate the baffle-rib rivets, and peel off the tape. Encapsulation of the skin-baffle rivet heads will have to wait for another day, as the Proseal was getting rather stiff by the end of the session. I mixed about 205 grams of sealant, which was enough to do everything here with some left over. (Of course, a good portion of that squeezed out and was wiped off…)
All in all, not bad progress. The confidence boost gained by the successful leak test on the left tank helped, as well. I need to pick up some replacement screws for the access cover before the next sealing session (which, with some luck, should be the last!) As before, I left the tank sitting with the baffle down, in hopes that the sealant will flow into the seam and prevent any leaks. Finally, cleaned all the Proseal off the various tools…still have a bucket of clecos to un-glob, once the stuff sets up.


