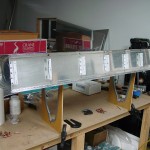
Left tank baffle
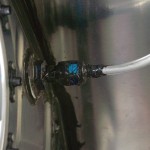
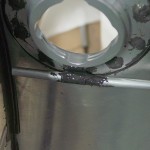
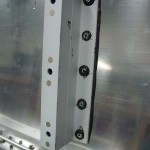
Hours: 5.9 | Posted in Fuel TanksFinished up some details on both tanks: sealed the interior vent line conections, put the screws in the fuel senders and sealed them, sealed over the rivet heads for the anti-rotation bracket. Gave a final look to the tank interiors, and wiped down the baffles with solvent to remove dust.
Lots of Proseal…installed the rear baffle on the left tank. I erred on the side of “too much,” since it seems this is one of the more common places for leaks to occur. Mixed up a plate of sealant, and another batch in a ziploc bag, which had the corner snipped off for use like a cake-decorating bag. That worked quite well to lay the beads inside the tank, the blobs in the corners, as well as beads on the rear flange of each rib. I also laid a light bead along the top & bottom surface of the baffle, and spread it thin with a popsicle stick.
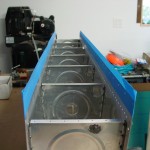
Having masked off the spar-mating surface with blue tape, I slid the baffle into the tank and clecoed to the ribs, then every other hole to the skin. Buttered up the back of each Z-bracket and clecoed in place, then went bank with the blind rivets, first twirling them in yet more sealant. The ground-down puller worked fine, and none of the stems broke off high. The end ribs are done with solid rivets, since the tails are on the outside of the tank.
Next, squeezed rivets in each open hole, from the center out to each end, then went back and pulled the clecoes and riveted the rest of the holes. This requires a regular yoke with a deeper throat (my regular yoke isn’t deep enough, so I used the longeron yoke, along with the no-hole yoke where the Z-brackets interfered with access.
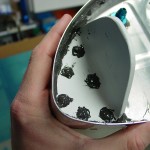
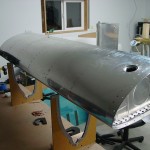
Finally, cleaned up the excess sealant from the outside of the tank, smoothed the fillets on the outside, and pulled the tape. I set the tank on the floor with its aft side down, in hopes that gravity will help the still gooey sealant find its place in the baffle-skin joint. I’ll need to go back and dab sealant on the heads of the rivets, then let everything cure for awhile before setting up a leak test with fingers crossed.
Earlier in the day, also managed to get the bottom spar dimples primed. More primer on order, as I don’t have enough in the can to do the wing skins.
