Fuel tanks
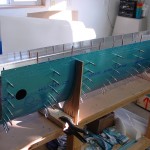
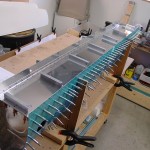
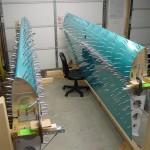
Hours: 6.6 | Posted in Fuel TanksRepeated the work done yesterday on the left tank on the right: reversed the end ribs that were put on the wrong ends, drilling the baffle and brackets, fitting to the wing, back-drilling the brackets to the spar, splice strip, and checking for wing twist. This wing wasn’t perfect (as the left wing was), but only reads 2/32″ difference from end to end, which is within the allowable spec given by Van’s (3/32″).
Pulled both tanks and match-drilled all the holes–lots of cleco moving. Countersunk the skin-to-baffle holes; this allows the baffle to slide in to a flat surface during tank sealing, rather than dimpling the skin and baffle. Drilled the tank-to-spar screw holes to #19, using the battery drill as it turns slower than the air drill, and the bit was grabbing with the air drill. Worked well, except that the battery drill weighs a ton compared to the air drill, making for a tired arm. (I wouldn’t mind having one of the 1/4″ Sioux drills for all the match-drilling, but with two 3/8″ air drills and a battery drill, don’t really need it…)
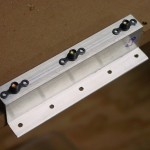
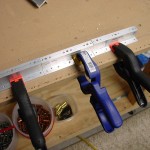
Pulled of the Z-brackets and baffle by drilling out the temporary pop rivets–the stems broken off high were not an issue, as they pushed out very easily with a small punch. Deburred the drilled holes, and proceeded to drill the nutplate rivet holes by using bolts stacked with washers and nutplates as a drill guide. Countersinking the nutplate attach holes on the aft side is helped by clamping a couple of the other brackets in a row, allowing the foot of the countersink cage to have support, making accurate countersinks on the upper- and lowermost holes. I did goof and drill nutplate rivet holes on the #1 brackets as well, which are unnecessary, since those bolts go from the tank side into nutplates riveted on the spar. I don’t believe that will be a problem, and the holes could be countersunk and filled with short rivets if needed (I deburred them, but left them un-countersunk, so as to not remove more material).
The next couple steps require fabrication: the reinforcement plates have to be trimmed down to match the curve of the nose of the tank, and the tank attach angles also need to be trimmed from a raw piece of heavy angle. This is stuff where a bandsaw would be a welcome tool to have. The hacksaw I have is a crude tool, and never wants to cut a straight line. I might try and see how the recip saw would work for roughing out the heavy angle, then finish to size with the vixen file. Also need to pick up a fly cutter for cutting the access holes in the tank end ribs, though I’m not completely certain how well that will work with the drill press at hand; I don’t recall what the lowest RPM setting is. I suppose I also need to think about a flaring tool for the AN fittings internal to the tank (pickup & vent; I believe the pre-fab screened pickups I bought are pre-flared, but the vent line, which is fabbed from a roll of tubing, is not).
