A tiger in the tank
Hours: 5.4 | Posted in EndgameThe tiger has yet to roar, but today was the day to prove out the fuel system.
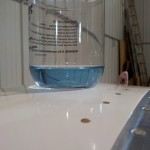
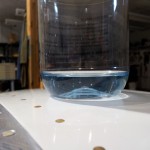
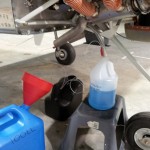
First, I shook the wings again and drained the tanks into the can through a filter funnel that I picked up on the way to the airport. Trying to get as much dust and debris that may be in the tanks flushed out before pumping fuel into the system. This time, I completely removed the fuel drains for better flow.
I brought a flare-to-NPT fitting from home, which I threaded into a piece of plastic hose, then connected that to the fuel feed line removed from the servo, so the flow could be directed into whatever container was necessary. I reinstalled the fuel drains, put fuel back in the tanks, and switched on the boost pump. After changing the circuit breaker value on the pump circuit (it was set to 5A, when the pump draws 6 according to its dataplate…now set to 7A value), I was able to complete the flush of the fuel system from tank to servo inlet.
I pumped the entire contents of each tank back into the can, until the pump drew air, and then drained the remaining fuel from each tank. This is the unusable fuel amount.
Having flushed the lines, I re-added fuel to the tanks and set up the line to pump into a jug which I’d marked with a half-gallon line. By recording the time it took for a half gallon to be pumped, I can calculate the gallons per hour that the system is capable of supplying. I tested both left and right tanks, and both took 33 seconds to pump 1/2 gallon, which equates with a fuel flow of 54.5 gallons per hour — more than enough to supply my IO-320.
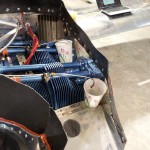
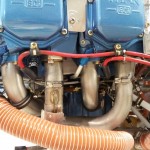
The next step is to flush and flow-test the servo, spider, and injector lines. Per the Airflow Performance install manual, I removed the line from each injector and directed it into a cup. Opening the throttle and mixture and switching the boost pump on caused fuel to flow at the injectors. I flushed two cups worth from each injector, then ran the pump for some time, and recorded the amount of fuel pumped by each line. We’re looking for less than 10% difference. I was also able to confirm at this point that the fuel flow transducer is, indeed, transducing.
Removed the fuel pressure line from the transducer manifold and ran the pump until fuel emerged, then reconnected. Purging these pressure sender lines helps give stable readings. Reassembled the fuel system.
Time to move on to the other life-fluid of the engine, oil. The engine has been filled with 3+ gallons of oil to keep its internals from rusting, so that needed to be drained out. Some of it had also seeped into the cylinders, and that needed to be removed as well. So, all spark plugs were removed, and the gush of oil caught in a funnel and/or wiped of from whatever it ran onto. The rest of the oil was drained out through the sump as it would be on a normal oil change.
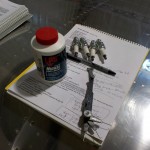
Spark plugs were cleaned and gapped per the Pmag instruction manual (.030″ to .035″; I set these at .031″ to allow for erosion over time). A plug was connected to each ignition lead, and grounded against the engine case. The prop was carefully pulled through with each ignition hot, to verify that the correct plugs were firing at the correct prop angle (fronts @ TDC, rears @ 180 from TDC)…all is good.
Antiseize was applied to a set of four plugs, and they were installed into the bottom holes and torqued to the ECI spec for 14mm plug bosses (180 in-lb, aka 15 ft-lb). Ignition wires connected. Top plugs will remain out for now, since the prop will need to be spun for preoiling (a procedure I need to decide how I will do…)
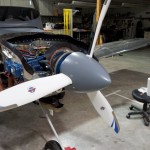
Installed the spinner, as I’ve read that the centrifugal force is enough to bend or remove the gap filler plates if the engine is run without it. At this point, I believe the engine needs only oil (and to bleed the oil pressure line) and a good inspection before first start.
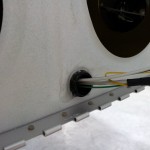
Pulled the wingtips and installed the nutplates that hold the screws which secure the tip lenses. Wanted to add some flox & glass tape to the ribs, but I’m all out of epoxy mixing cups and gloves…tomorrow? I did apply some Goop to the wing conduit at the outboard rib, to keep it from rattling around or pulling back into the wing.
I have also been spending time in the evenings working on the POH, and presentation of the build log in some paper format for the inspection.
