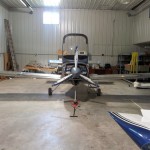
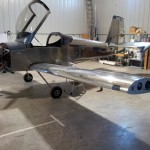
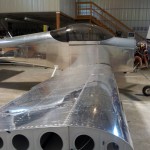
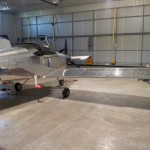
Wings are on, for good
Hours: 4.0 | Posted in Endgame, Wing & Tail JoinsOut to the airport for a few hours on a nice day today; Allison came along for the ride so I put her to work, helping attach the wings. I could have waited a few more days, but at some point, it’s time to “fish or cut bait,” as they say — so we did it. I scrounged up some sawhorses from the back of the hangar, and padded them with foam; I think these sawhorses must have been previously used for this task, as one was cut shorter than the other, approximating the dihedral of the wing.
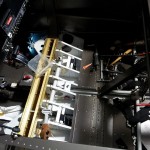
Sawhorses in place, we lifted the right wing from the cradle, set it up on the sawhorses, greased the spar stub, and slid it into place. With me inside the plane inserting the bolts and adjusting the inboard end, and Allison at the far end of the wing moving or wiggling it in whatever direction I requested, the whole process was relatively painless. With a collection of mallets, hammers, and wood blocks, all eight bolts went in without hassle, after being greased to assist insertion. I read through a bunch of build logs this morning and took notes to make sure I wasn’t overlooking anything, and all the washers & etc ended up in the right places.
Regroup, resupply, and repeat for the left wing, then drop the rear spar bolts in for support, so I could use the wing walk for getting in & out of the cabin (which was repeatedly required). With both wings pinned in place, the smart level agreed that both wings had equal dihedral and angle of attack (as they should; the wings were mounted previously and carefully measured & drilled).
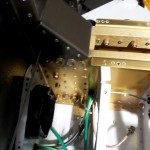
Now for the fun part — placing & tightening the nuts on the bolts, especially the bottom ones, where access is superbly poor due to the position of the main gear weldments. Luckily, I came prepared… I found that my hangarmate had a set of special open-end wrenches with heads at a more severe angle, similar to this (Snap On apparently calls this a 4-Way Angle Head; MAC Tools just calls it an Angle Head; I’d never seen one before):
(The head on the right is the one that’s used on the bolts here.) There were two sets, and the ones I ended up using had a slightly thinner body on either side of the head, which made a difference, as it was far easier to remove the wrench once the tightening was complete, on the bottom outboard -7 nut. Anyway, these wrenches made the hassle of accessing the nut a non-issue. [I will try and remember to look at the actual brand of wrench I used and post it here for reference.]
The angle head wrench wasn’t the entire solution to the problem though — after a few long minutes of turning the first bottom bolt with a ratchet, two clicks at a time, I decided there had to be a better way. And there was — I took my air ratchet and set it up with the necessary adapters & extensions to use a 6-point socket; I wasn’t sure the air ratchet would have enough power to drive the big bolts, but it did. With the angle head wrench on the nut, and the air ratchet on the bolt, it was simple and easy to snug the bolts down. Reverse for the top, and drive the nut while holding the bolt head (NB: unlike the smaller fasteners we’re usually using on the plane, the bolt head and nut are different sizes here!)
Once I’d snugged down the large bolts/nuts for each side, I used a torque wrench to finish tightening them down; it required about a turn on each, which wasn’t bad at all. Though it was perfect for these -7′s, I won’t let the air ratchet go all the way on the -4 bolts, as it may overtorque them — better to stop early and hand-tighten the last couple turns to the required value. Torque seal applied, and we’re done with the large bolts.
With those in, the wings are secure, and it was time to make some notes and head for dinner and home. I should be able to get back out tomorrow and install the rest of the nuts & bolts.
The main fuel lines will be fine, but the short pieces of tube that comprise the first piece of vent line coming off each tank will need to be replaced, as they’re around 1/2″ short on both sides. Obviously we trimmed them a bit too far. Easy enough, if annoying, as long as I remember to take the tube stock and tools to the airport.

