Making hay
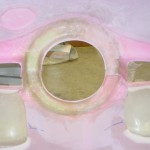
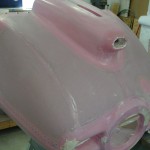
Hours: 9.0 | Posted in Canopy & Frame, Cowling & Baffles, Forward Fuselage, Gear & FairingsIndeed the sun is shining, the weather is record-setting unseasonable warmth (avg. high today of 51, we hit 79 here, and over 80 at the airport; at 23:30 local, it’s still 65). Perfect fiberglassing weather, so that’s how I started the day. Sanded some spots on the inside of the cowling, and laid up a couple plies of reinforcement when the nose-shaping operation had caused it to become a bit too thin. Also laid up a new flange on the right bottom nose to replace the one that I cut off during fitting. Added some micro to the leftover epoxy and filled some divots in the surface, along with putting a layer over the vertical hinge rivets on the aft edges. Should have put one more batch before ending the night, but ran out of time.
Took another crack at re-bleeding the right brake to remove the air in the line (which causes “squishy pedal”), and got it this time. Left & right pedal feel is equal now, both quite firm.
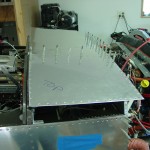
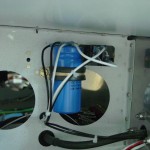
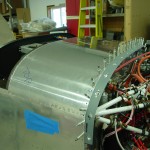
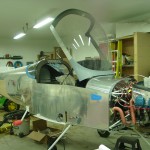
Decided that in the pursuit of progress, and given the generally-finished status of the avionics, wiring, and plumbing, it was time to nail on the forward top skin. Sealed the forward edge with firewall sealant; I was able to set all but the longeron row + 4 rivets myself. When Allison came home I conned her into shooting those remaining, while I laid upside down in the cabin to buck. After that was done–as long as I was down there–I installed the top canopy hinge bolts, and the canopy pin mechanism. During the solo riveting of the skin, I also secured the standby alternator relay & capacitor (which needed to move out of the way to allow bucking access). Once the riveting was done from inside, I squeezed the rivets along the firewall, which also fasten the camloc strips. With those in, I installed the three remaining camlocs.
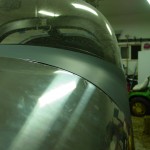
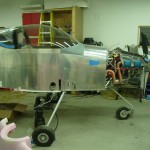
It seemed natural to move next to the canopy, so I trimmed back the seal flange on the subpanel by 1/8″, to allow for an “edge gripper” type seal to be affixed. We then installed the canopy on the fuselage, with much consternation around getting the hinges aligned with the pins (as the alignment marks I made earlier had been removed from the hinges during some cleanup). Reaffixed the lift struts, and checked opening & closing operation, which worked fine. The riveting of the top skin, as it seems to often do, changed the fit of things and created some “air scoops” on the pilot side, though the copilot side looks decent — both sides were alright before riveting. So, I’ll have to decide whether to drill rivets & try to shim it up, or build that side up with (more) glasswork now, or later. Since the canopy stops were removed to gain access for riveting the top skin, I reinstalled those, though they still need a little adjustment before locking them down.
Put in the pilot seat temporarily to sit in the plane and check fit & function of the lap belts, and operation of the canopy, brakes, and panel floodlights.
