Moving on from tips
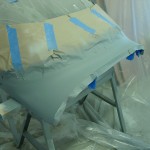
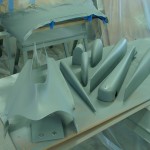
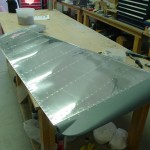
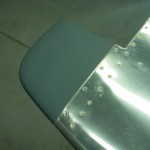
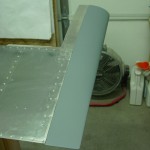
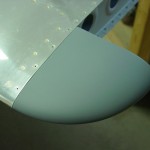
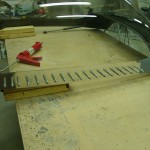
Hours: 7.2 | Posted in Center Fuselage, Gear & Fairings, Wing & Tail JoinsWith the first batch of fiberglass parts done, today saw the attachment of all the empennage tips to their respective stabilizers and control surfaces. The emp fairing was set aside for the day the tail is installed at the airport, and the spray booth collapsed until the next round. The only remaining item for the emp is that the taillight screw holes on the rudder need to be tapped to remove some excess micro that got in them. After that, the emp parts will make their way to the airport at some point, to wait with the wings for the Big Move of the fuselage.
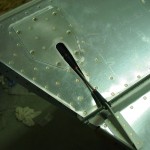
While working on the left elevator, also final-installed the trim pushrod and cotter pins.
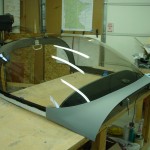
The plastic covering on the canopy was the original as shipped in the finish kit, and had become quite tattered, along with being covered in dust and overspray of all sorts — I removed it, and will cover the canopy with layers of saran wrap to keep it pretty in the interim. Today, cleaned, prepped, and attached the canopy side skirt pieces to the canopy frame. Currently, they’re clecoed in place to let the bead of Sika cure, then I’ll add the rivets. Also fabricated the exterior canopy lift handle (pilot’s side only, thanks) and drilled to the frame. The canopy is very static-y when cleaning with a microfiber cloth, which means it didn’t stay clean for long, but every dust particle in the shop was attracted to it.
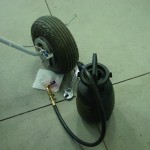
Re-bled the right brakes again, but still have a soft right brake pedal compared to the left. I see no leaks, even under pressure, where air might be entering, so I can only blame the bleeder tank somehow. Sort of disheartening, as the original system fill was rock-solid on both sides…too easy. But the leaks at the pedals had to be fixed. I wonder if draining the whole right side and refilling would provide better results. I also wonder about the design of the bleeder valve, and whether air can’t find a path to enter there.
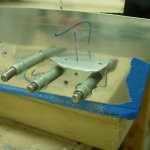
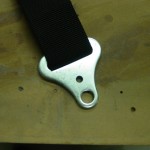
Decided to look at the installation of the crotch straps. Pulled the seat pans and found that it would work well to simply drill a new hole in the crotch strap bracket, up from the giant factory hole. I marked them in situ, and drilled both to 1/4″. The geometry of this area requires an angle drill, but my largest bit is 5/16, so I will need to procure a 1/4″ threaded bit to complete the installation.
While messing around in the fuse with seatbelts, I happened to notice that four bolts were never put in the center section — whoops! These are the bolts that go through the inboard tubing support brackets, just outside the fuel selector, top & bottom on both sides. Obviously, I installed those bolts.
