Venting
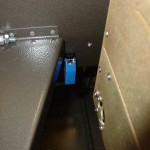
Hours: 2.4 | Posted in Engine, Plumbing, Wing & Tail JoinsDrilled and installed the fairing nutplates on the HS.
Countersunk and re-primed the top cowl camloc strips (oops).
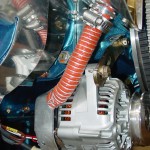
Cut and attached the blast tube to the alternator with a double-wrap of safety wire. I’m all ears if someone has a better way of doing this, but it’s reported to have worked. Also rumors that the alternator doesn’t need it, but cooler is always better for electronics.
Tightened and re-saftied the dipstick tube, as it was weeping just a bit at the gasket, since the engine is full of oil now.
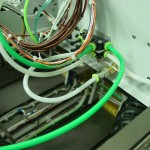
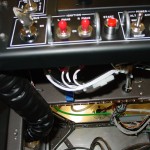
Installed the alternate static toggle low on the subpanel behind EFIS 1. I bought a toggle switch guard to put over it, since the actuating force to open the switch (thereby venting the static system to the cabin) is quite low. The guard needs a good strong push to open & latch, and it holds the valve firmly closed in the down position. I sat in the seat and the switch is out of sight, though easy to reach under the panel. It still needs a placard, though, because my labeller was too cold to print labels. (It looks like the wire bundle is very much in the way, but it’s just a result of the camera location.)
Checked to be sure I’d run the remote output port from the transponder to the ADS-B connector (I had), as the need for that connection came up on a recent VAF thread again.
Wasted the rest of the night sitting in the seat playing with the avionics.


