Odd jobs
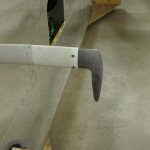
Hours: 3.1 | Posted in Accessories & Mods, Aft Fuselage, Canopy & FrameTrimmed the UHMW block for the top canopy latch, and drilled the holes which bolt it to the canopy frame. Found a washer that fits the shaft of the latch, and drilled the shaft for a cotter pin, but discovered that the washer’s OD is too large to fit on it; it hits the canopy frame. I’ll have to dig deeper in the bags, as I must have pulled the wrong washer. I’m also planning to install the spring modification that others have done, which allows the latch to tuck up parallel to the canopy frame, eliminating the possibility of locking oneself out of the plane if the latch were to slip.
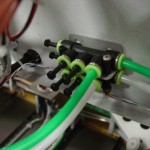
Installed plugs in the open ports of the pitot & static manifolds. I installed these manifolds to allow for easy expansion in the future, to run lines to a second/third EFIS, autopilot, and whatever new gadget comes along that needs it. I haven’t found the second long screw I bought to secure these, though…looking like a fresh one from Menard’s.
Installed the center bearing block for the rudder pedals.
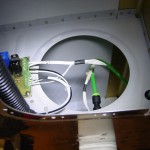
Shaped the upper body of the Gretz pitot tube slightly as needed to fit into the pitot mast, put the nutplates on the mast, and installed it to the wing. Then, installed the pitot tube to the mast after trimming the pressure line and wires as needed, and wired/plumbed it. I decided to try using a straight quick-connect union to join the 1/4″ copper line from the pitot tube to the nylon tubing which runs through the wing, since they’re supposed to be OK for all types of tubing. If it doesn’t work, there’s plenty of room and remaining length on the tubes to do it a different way. With the pitot installed, I rolled the wing cart over to the fuselage and plugged the left wing in, to verify operation of the heater. Cooling it off with a cupful of ice water caused the heater to kick on, and the indicators indicated appropriately. Check.
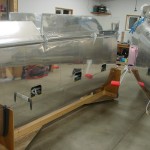
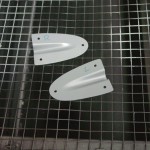
Drilled attachment holes in the rudder cable fairings, then match-drilled them to the fuselage. I went with one hole in each corner for a total of three; if this proves not enough, it’ll be easy to add two more holes halfway along the sides. I plan to attach these with blind rivets; easy, and easy enough to remove with a drill if needed later. Primed the inside surface of the fairings and left to dry.
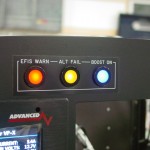
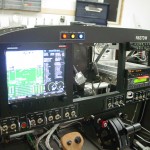
When testing the pitot heater, I had all three of the annunciator lights lit up on the panel, and grabbed a couple photos. I really like how these LED indicators worked out, even though they were a bit pricey. They may end up being too bright at night, but with the way they’re wired, it would be simple to add a bright/dim switch, or even a dimmer pot. And, they should be dark in the normal condition, so it may be a non-issue. (The camera makes them look brighter than they actually are, too; the hotspots in the photo aren’t apparent to the naked eye.) I’m still very happy with the panel design & layout; putting that together was, as expected, one of the highlights of the project.
