Spars done, and a rib oops
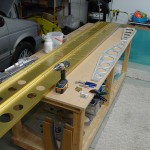
Hours: 3.3 | Posted in Spars & SkeletonFinished the spar prep by countersinking the tank attach and access plate screw holes, and spot-priming the countersinks. Also fabricated the new set of tiedown bars, so the new spars are now at the point the old spars were before the mis-bent flanges were discovered.
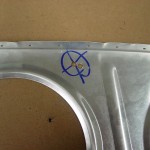
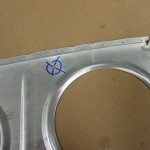
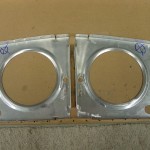
Moving forward, I went ahead and began drilling holes for wing wiring runs, and things took another turn south…this time, all my fault. Lesson learned: stop while you’re ahead. I printed off the page from Van’s that advises on where to install the wiring conduit (bottom of the rib, behind the first lightening hole), and proceeded to drill a hole in a rib. Decided to move it about 1/2″ forward to center it between two skin-rib rivet holes, for ease of bucking later on, and drilled a second hole; not an issue since the first hole would get swallowed in the enlarged 3/4″ hole that’s made for the conduit, right? Ok, so I proceeded to transfer that hole location to a set of L & R ribs to use as templates for drilling the other ribs…that’s when I saw it–the holes I drilled were on the TOP side of the rib. D’oh! Re-drilled the holes on the BOTTOM side of the rib, and all is well…except that I have three ribs with extra holes:
- (1) W-911-L with (2) extra #12 holes on the top side
- (1) W-911-L & (1) W-911-R with (1) extra #12 hole on the top side
I’m assuming that the ribs with the extra single hole won’t be an issue, but that the one with the two holes will either need replacement, or reinforcement of some sort. A new rib is just under $17 from Van’s. I’ve sent pictures to Van’s for their take on it. I’ll continue moving forward with the ribs and await their reply…I’d like to get the wiring holes drilled, ribs drilled to spars, and then start priming everything.


