26th
February
2011
Cabin work
Hours: 9.1 | Posted in Cabin & Interior, ElectricalSpent the day working on various items, mostly in the cabin area.
- Hooked up the Garmin GPS 18x-5Hz to power and a computer to program & test it out. Solid lock even inside the house.
- Printed real labels for the various wires I had labelled with tape after I ran out of label stock.
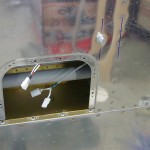
- Installed a connector on the #2 OAT sensor, installed it in the wing, and added connectors to the wing end of the OAT cable for both sensors.
- Drilled the #2 EFIS tray to the panel, the #1 tray will come with the avionics order…hopefully next week!
- Deburred and primed the panel and riveted the top angle on, after removing a bit of one ear on the angle to allow for the #1 EFIS tray.
- Riveted the canopy seal support angles to the subpanel.
- Removed the right side panel-subpanel rib as I did earlier on the left; though I spaced the radio stack to not interfere with the rib, the angle to mount the stack would overlap the rib, and there would be no clearance for the mounting nuts. This could be shortened by the thickness of the angle and mounted behind it, or (easier) moved to the right by 3/4″ of an inch of so.
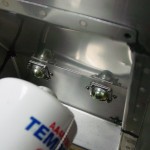
- Added nutplates to the panel flange, and the subpanel bracket, to bolt the throttle quadrant mount to. I’m making a conscious effort/decision to use nutplates under the panel, and have bolt/screw heads face down, so that future maintenance will be easier. Also any electrical connection that must be made with solder (such as master and starter switches) will have a connector inline, to allow the component to be removed and serviced on the bench, rather than soldering in situ, laying on my back working over my head.
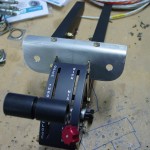
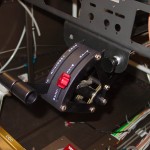
- Fabricated a bracket that straddles the throttle quadrant, to allow mounting of the fuel purge and center cabin heat controls on either side. Painted and temporarily installed with the quadrant to work out cable routing. Quadrant and bracket are mounted via the same bolts, and the bracket dresses out the quadrant install well, I think.
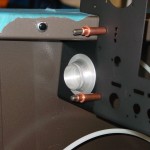
- Finished installing the firewall eyeballs for the throttle, mixture, and center cabin heat controls. These buggers are time consuming…but only two left (purge & alt air).
- Fit the center cabin heat cable and figured out the cable route. Put the right seat in to sit and work out a location for the right-side heat cable. Decided to put it under the right air vent, against the sidewall. So, fabricated a mounting bracket and painted for installation tomorrow.
- Riveted the left side vent bracket in place and installed the vent. (Right side tomorrow, after the heater cable bracket is attached to it.)
Passed 1200 hours in this session.
