Round things, and things that go ’round
Hours: 2.9 | Posted in Electrical, Gear & FairingsMore items from the pre-engine-hanging punch list tonight…
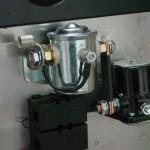
Installed the protection diode on the master contactor. Need to order another diode for the starter contactor.
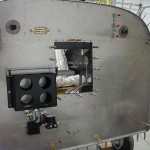
Installed the right-hand wiring passthru in the firewall, pretty much in a mirror-image location of the left one. I found a number of builders who have put them here and said it worked well. Their photos showed good wiring routes for everything, and it will be an ideal position for feeding the main buss wire into the Vertical Power box. It also leaves open some real estate on the bottom of the firewall for the possibility of putting a heater box there.
Put the engine mount in place and snugged down the bolts to hold it. Put the nose gear in and temporarily placed the bolt at the top. I’m wondering if it would be a good idea to upgrade this to a close-tolerance bolt; I know some have tried taper pins but had a heck of a time reaming the tapered hole in the hard steel leg.
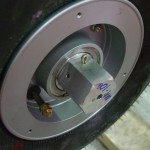
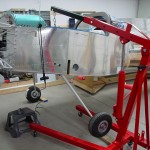
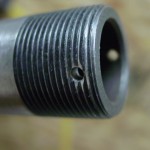
Decided to finish off the main gear legs, so hoisted the fuselage up one side at a time to adjust and drill the axle nuts for cotter pins. The engine hoist and a double cargo strap to the gear tower worked nicely to get the wheel off the ground. Since the gear-leg bolts are not yet torqued, it was easy to drill the top side, then pull the leg to drill the bottom hole. After marking each hole with a drill bit, I removed the nut and ground a depression in the threads with a burr in the Dremel tool, then replaced the nut and drilled the hole. Found this method on the forums, and it worked well to keep the axle threads from splitting and tearing up the nut threads.
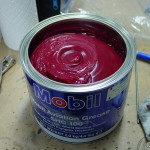
For the gear, I’m using the grease recommended by the maker of the main wheels, Mobil Aviation SHC 100, a non-clay-based synthetic grease. The smallest quantity I could find to buy was the 4.4-lb can…that’s a lot of grease, and it’s spendy stuff too. I’m using this because the main wheels came already packed with it, and the nose wheel isn’t packed with anything; may as well use the same stuff all around.
Still to do before engine hang: seal and install the firewall recess (which will involve removing the top skin), seal and install the wiring passthrus and brake reservoir, pack the front wheel bearings, and deal with the oil pressure fitting. Need to look up the mix ratio for the CS1900 firewall sealant so I can mix smaller batches than the entire pint can.
