Holiday shop time
Hours: 5.8 | Posted in ElectricalTook advantage of the “extra” day off from work (since Christmas day falls on the weekend this year) to get in some shop time, since the rest of the holiday weekend will be spent doing the relatives thing. It’s been nearly a month since I’ve done any work on the project, due to work and more work…’tis the season. I met my goal of wrapping up all my freelance projects by Christmas, so I should be able to use more of my time away from the office to work in the shop. Having that engine sitting there is a motivator!
Before heading out, I put in a few orders to various vendors for parts, including Lord mounts and bolts, transducer manifold, baffles and airbox, firewall sealant, wheel bearing grease, etc. Still plenty to order, but this should let me get the engine mounted. Also talking to SteinAir to get panel build parts and engine sensors.
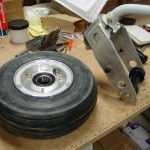
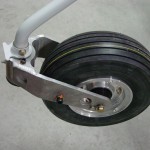
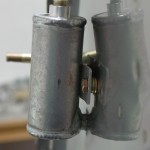
First order of business in the shop was assembly of the nosegear, since the leg will need to be in place to support the weight of the engine. After assembling the fork with the various bolts and spacers, I mounted the tube & tire to the wheel and assembled it to the fork loosely (the bearings still need to be greased, once my can of grease arrives…). I have the Matco axle and drilled that to the fork, but won’t adjust the preload setting until the bearings are greased. I bolted the engine mount up temporarily to look at some spacing & layout things for deciding where to install various bits, and slid the nose leg into place. At that point, I realized that I had installed the swivel stop piece backwards; the stops should be on the forward side of the fork, not aft. An easy swap, dropping the fork and reversing it the right way round, and all is well.
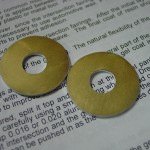
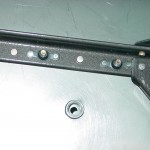
As long as the engine mount was bolted up, I took the opportunity to address the spacers needed behind the inner bottom mount points. It turned out that after filing the lower pump nutplate down to provide clearance, all that was needed was a .063 piece, so I fabbed two circular spacers from a piece of scrap and bolted them in to test…perfect. Pulled the gear leg and engine mount, and set to work drilling holes in the firewall.
First, the brake reservoir. Recommended locations for all this stuff if given on the plans, so it’s just a matter of measuring it out and drilling. Well, then drilling more, countersinking, deburring the stainless firewall, and riveting nutplates… The reservoir went on fine; I ended up using three regular washers on each side to keep the top of the canister from rubbing the bent upper part of the firewall. Next up, I measured and drilled the hole that’s needed for access to the nosegear leg bolt, which ended up being right where I had marked it with a drill bit through the bolt hole. This will get a stainless plug to close it once the leg is installed.
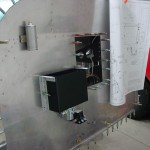
Next on the list was the battery box, so I pulled that out and drilled/dimpled/riveted the side angles to the box. I will drill the lightening holes later, since my hole saw set is still at the office from the big studio build. I drilled out the necessary rivets from the firewall and clecoed the box in place for now. I’m intending to–as much as is practical–install everything on the firewall using nutplates on the aft side so that removal/installation can be a one-person job from the front, without having to crawl under the panel to twist wrenches. The battery box is prepunched for nutplates to be attached to the mounting angles, then bolts run from the cabin side to attach it. I don’t see why this couldn’t be reversed, and bolted on from the front, so I’ll research that to make sure I’m not all wet.
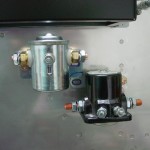
With the battery box clecoed on for spacing, the next logical step was the contactors, but I’ve read that the doubler in the plans may not put the holes in the correct locations. Instead, I drilled out the specified rivets and installed the nutplates on the stiffeners, and fabricated the doubler with no holes. I bolted the contactors up temporarily and marked where the center holes needed to be for them to align well, then drilled those holes. I’ll back-drill the doubler from these holes next session.
To do: figure out where all the other nutplates need to go on the firewall for breather tubes, oil pressure line, etc. I’m planning to hang the engine and then figure out where the best place for throttle/mixture/purge cables to pass will be, along with the dual heater boxes, about which I am still undecided as to the preferred location(s). Considering either center/right, left/right, or both in the center.
