Flap fitting
Hours: 3.9 | Posted in Wing & Tail JoinsWith the chunk of angle for the replacement fuel tank bracket in hand, it was off to the shop to carve it up. Using the well-fitting left bracket for a template, I traced it in reverse onto the angle for the right bracket, then cut with the bandsaw–bent the angle before cutting the 1″ leg, then shaped to final size with sander and wheel. Clamped both brackets up to the tank and fuselage, and drilled from inside. The bottom hole is easy to drill, but the top hole is blocked by both a gear tower tube and the fuel vent line, which meant that the vent line had to come off, and the angle drill be used to make the hole. No problem; then the brackets are temporarily bolted up and clamped to drill the hole through both brackets. Once the wings come off, the hole will be slotted and a nutplate installed (after priming…).
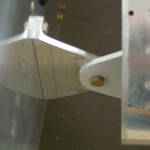
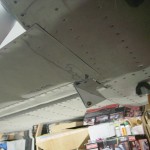
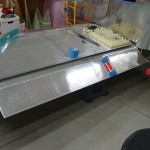
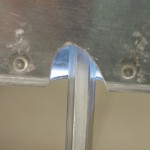
That task complete, on to the final remaining item before wing removal…installation of the flaps and pushrods, which required cutting the pushrod exit holes. I started by enlarging the holes in the side and bottom skins with a unibit to 1/2″, then connecting them in a rough shape with a round file. After the pushrod is attached to the flap and the flap to the wing, the pushrod can be inserted from the bottom and pinned to the actuator arm; then the actuator is moved up and down to check the pushrod hole. It took several rounds of removal, enlargement of the hole (Dremel sanding drums work well), and re-connection before the hole was right. I wanted to creep up on it, so as not to have a larger than necessary hole. Once everything was fitting well, I made a tracing of the hole and transferred that to the other side for a starting point…trimmed it out slightly small to allow for any difference between the sides to be taken up during the fit/enlarge process, but it should make the second side easier. Finished the rough cutting and hooked up the pushrod before calling it a night. Hope to get the flap finished and the wings pulled tomorrow, to gain Allison’s car a space in the garage again.
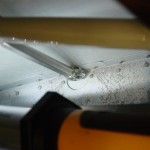
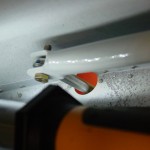
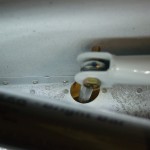
One word of caution and lesson learned: beware of the little flaps of metal that hang off the aft end of the wings at the inboard edge of the flaps. When the flap is attached, this piece tends to end up on top of the flap nose…it must be on the bottom side of the flap, or it will be pushed up between the flap and the rear spar and bent when the flaps are raised. I didn’t check this before raising the left flap, and then promptly repeated the mistake on the right flap…sigh. The bends mostly came out by hand; I’ll work them a bit more when the wings come off. At least they’re symmetrically bent now…keeps the plane flying straight! (builder joke…)
