Canopy latch, prep & prime
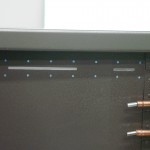
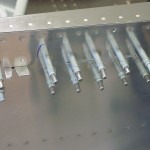
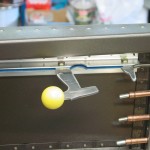
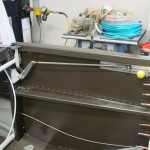
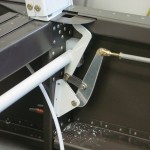
Hours: 9.7 | Posted in Canopy & FrameFinished off the installation of the main canopy latch by cutting the slots in the fuselage side skin; used the traced template to drill the pilot holes, then masked the area to be cut with blue tape, made two passes with a Dremel cutoff wheel, and worked with needle files to finish it off. Not bad. Drilled the mechanism to the skin, dimpled with the pop-rivet dimpler, and countersunk the angles, before fitting the aft part of the mechanism. All in all, an easy piece of the puzzle, and it operates well. I did have to slightly enlarge the aft slot top to bottom to prevent binding and scraping of the handle; I think there is a slight bit of variation to the straightness, and I couldn’t convince it any straighter. No biggie.
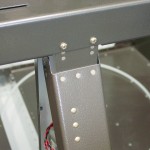
Note: when you go to rivet the little screw plate to the top of the flap motor mount channel, use flush rivets, rather than universal heads…I ended up drilling out those three AD470′s and replacing them with 426′s, because they were rubbing on the torque tube for the canopy latch. Even without the rivets, the tube rubs slightly on the channel; I think this is a common problem. I’ll probably stick a piece of UHMW tape on the channel there to avoid chafing, unless a better solution comes to light.
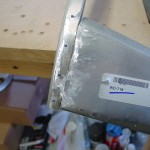
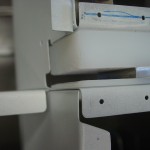
Pulled out the canopy frame to look at how it goes together; did a couple common things: filed the welds flush, chamfered the forward edge of the hinge ears, and chamfered the aft edges of the plastic hinge blocks. This allows the ears to guide themselves into the slots.
Time to check off the laundry list of little fuselage tasks to get ready for some riveting:
- Removed the latch mechanism, disassembled for prime/paint, and deburred.
- Removed the forward top skin and subpanel assembly, spot primed scuffs, and set aside. Debating whether to paint the stuff aft of the subpanel or not. (Note to self: still need to ream the outer bulkhead holes)
- Removed the roll bar and brackets for prime/paint. Deburred and cleaned up shavings from that installation; touched up paint on the trimmed corners of the seatback rests.
- Removed the mid top skin for painting; lifted one side of the aft top skin for wiring/plumbing access.
- Pulled the static line with the hole drilled in it and ran a replacement line.
- Spot primed aft bulkheads and vacuumed the aft fuselage.
Etched and primed all the removed parts; rattle-can painted a few little things, waiting on the rest–I need to pick up another quart of the Rustoleum brown, because it goes on better with the sprayer than from the cans.
The plan going forward is to run some wiring in the aft fuse, then close that up, along with the structure of the subpanel, to prepare for fitting the canopy frame.
