Canopy hinges & latches
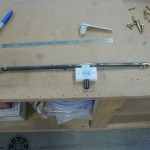
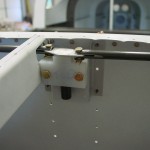
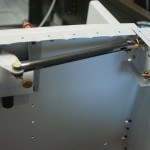
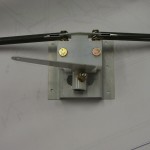
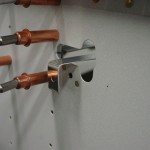
Hours: 6.2 | Posted in Canopy & FrameSpent most of today working on the canopy hinges and latches. First order of business was to drill the 1/4″ holes for the pivot pins, using a 12″ drill bit I picked up. That done, I built up the mechanism that inserts and retracts the hinge pins. This required cutting off the threads and rounding the ends of the pins themselves, fabricating the pushrods, and assembling the bellcrank mechanism. The goofed-up hat channel was replaced with a shorter piece, cut from the section that was cut off before. This should work fine, since its only purpose is to hold the bellcrank…I had enough material left to pick up the top three rivets on each side. Installed the lever on the bottom of the bellcrank, but not the tube that runs aft; instead, I made a little handle that attaches to the lever, and has a tab with a hole to secure it to the subpanel. I put in a nutplate for a #8 screw to hold it there; a nice improvement would be a thumbscrew with a #8 thread, so that it would be easy to undo without having to mess with a screwdriver behind the panel. This tab will be easily reachable, since this is open to the sky when the canopy is open. (The tab idea was shamelessly stolen from another website, though I can’t remember where I saw it… Flyvans.com, also a good resource for tip-up canopy Sikaflex tips.)
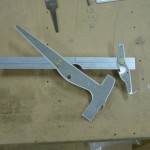
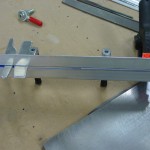
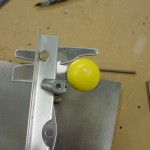
With that mechanism rigged, on to the next thing…the main canopy latch. First up is to fabricate the control lever, which allows the pilot to latch/unlatch, and also protrudes through the side skin to allow the latch to be opened and closed from outside of the plane. The upper and lower angles were fabricated, latch arms deburred and straightened, and holes drilled–bottom first, then match-drilled to the top angle. (Hint: I use my back-rivet plate as a true surface to verify that things are flush if needed for match-drilling.) I stacked up four layers of masking tape on the inside face of the angles to allow for the thickness of primer and UHMW tape to be applied later. For fun, drilled the yellow latch knob to the lever. And finally, traced the template for cutting the side skin, which I’ll get around to tomorrow.
