Moving parts!
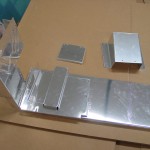
Hours: 6.6 | Posted in Cabin & InteriorStarted out with some monkeying with the center tunnel covers–match drilling various parts, deburring everything, and modifying the fuel valve plate to remove the trim cable mount. Done and set aside for paint and modification for the boost pump.
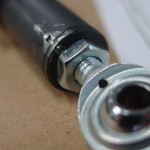
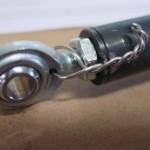
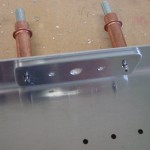
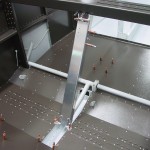
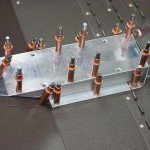
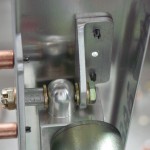
First fitting of the flap system today. Lots of parts needed fabrication: brackets for the top & bottom of the actuator channel, mounting angle and plate for the motor, a bolt spacer, etc. Drilled the end of the actuator arm for the safety wire hole, and also drilled the rod end, since you can then wire the rod end to the actuator, rather than around the bolt (a joint which rotates by design with each flap extension/retraction)…this method of safetying seems to be favored among builders, though I need to look and see just how they’re running the wire. I tried it a couple ways and finally settled on one, though it still seems loose to me, so I will see what others have done and probably re-do it; safety-wiring is a brand new skill to me.
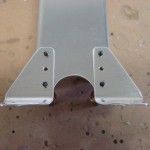
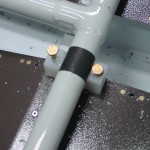
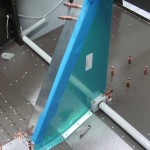
With all the pieces fabricated, it’s time to fit it together…first, the arm weldment is bolted in place and the center bearing block fit; this is bolted near the tunnel, so the aft tunnel cover must be notched to fit around the bearing block. The actuator channel is drilled to the cross-brace, the motor mount drilled to the channel, then the side panels put in place to drill the rear channel, whose bracket was previously drilled for the floor screws using the tunnel cover as a guide. (It’s not as complicated as it all sounds…) The forward tunnel cover also needed to be trimmed a bit; the bottom angle needed a more gentle curve to nest into the brackets that hold the flap actuator channel, and the top piece was too long (I expected this, having left it a bit long intentionally to cut it for a good fit).
A few more things to wrap up (drilling nutplates, etc) and then I will have to do another batch of prep/prime/paint so some of these things can be installed.
