Top skins in place
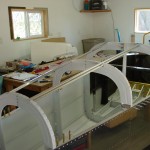
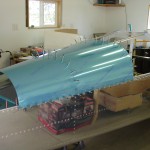
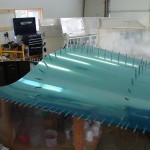
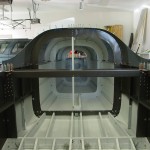
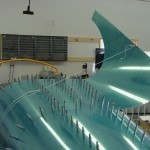
Hours: 2.5 | Posted in Upper Fuse & SkinsPulled out the J-stiffeners that were made for the upper fuselage back when the rest of the stiffeners were cut; set them in place and taped their forward edges to the baggage bulkhead. These run three bulkheads back, and need to be drilled in assembly using the holes in the top skins. So, the aft top skin was clecoed in place first, to the bulkheads and longerons (after adjusting the angles of the bulkhead flanges to account for the taper of the fuselage). Once that skin was in place, the gussets connecting the 707 bulkhead to the longerons were clamped for later drilling (once the aft skins are removed, allowing access).
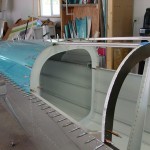
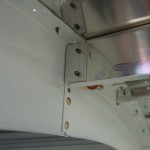
Next, the structure under the forward top skin is set in place: a gusset (which the manual calls F-688 and indicates needs to be cut & drilled, but in reality is F-788, complete and prepunched), and a rib. The forward end of the rib is clecoed to the baggage bulkhead, and the aft end affixed to the 707 by way of a cleat which is fabricated from a short length of angle. Before the cleat can be drilled in assembly, the skin must be set in place, so that happened next: skin in place and the J-stiffeners drilled from it. After the stiffeners are drilled, the skin is opened up along one side to give access for drilling the cleat to the bulkhead and the rib. After drilling and clecoing in place, the skin flap is clecoed back down. With both skins in place, the aft bulkhead that closes out the top of the fuselage is set in place, and the bottom-most holes drilled using the skin as a guide.
Once these skins are drilled, they will be pulled off for deburring, etc. I plan to get the static system and wiring into the aft fuselage before they are reattached permanently. 2 1/2 more pages in the manual until the first fitting of the wings–seems close, but it’s probably deceivingly far off.
