Fitting aft deck
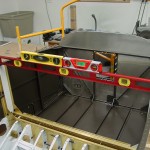
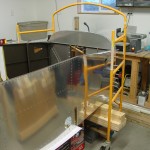
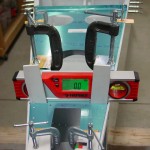
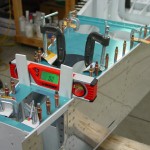
Hours: 2.2 | Posted in Upper Fuse & SkinsPicked up a digital level during the weekend out of town, so today I set out to level the fuselage and fit the aft deck. First task is leveling the fuselage, since it sits rather nose-up when placed on two equal-height sawhorses. After a couple of tries with various height objects, I got the front of the fuse set on a fixture of scaffolding and 2×4′s, and the tail supported with a sawhorse. One shim between a couple 2×4′s levelled the forward fuselage in the roll axis, and sliding the sawhorse fore/aft allowed it to be level in pitch. Twist is removed by adjusting the aft deck and clamping in place, which was surprisingly easy. (I was also interested to see that the 0.1-degree precision of a digital level is rather obvious on a bubble level, so perhaps the need for a digital level at this step is overstated, though it will surely come in handy when measuring control surface throws.)
With the aft deck clamped securely, I took two more series of measurements before picking up the drill. I also left the level in place on the aft deck so I could check it between holes, in order to avoid any twist creeping in. I drilled every other hole before it was time to head in for dinner. The fuselage structure is now rigidly fixed in place.
My package of LED lighting strips also arrived today, direct from Hong Kong (SMD 3528 style from ledlightsworld.com, with the “IP65 waterproof-surface” rating). I’ve been using these for a project at work, and think they should serve nicely for interior lighting…I ordered blue for the panel, and warm white for general cabin/baggage lighting. I already have some PWM dimmers that I picked up some time back from another builder. I’ll have to play around and determine the best place to put them for cabin lighting, and the switchology.


