Crotch strap install
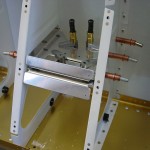
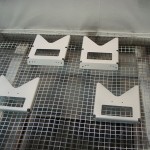
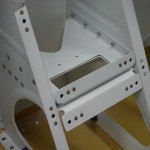
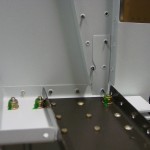
Hours: 4.8 | Posted in Center FuselageWith the install of the crotch strap brackets today, the fuselage is nearly ready for riveting. Before the brackets could be fit, I riveted the two seat ribs to the bottom skin and vacuumed all the metal chips out of the center section. After deburring them to prevent scratching up the ribs, the brackets were then fit in place, with spacers clamped between the fore & aft brackets to provide proper spacing. The angle drill extension allowed me to get in there and drill — this cheapo extension feels like it may be dying inside, so hopefully it’ll hang on to life for a bit yet. I would be tempted to replace it with a real angle drill with a small head, as the wider body on this one sometimes results in slightly angled drilling.
With the brackets removed, and holes deburred, I vacuumed the center section once more, etched and primed the brackets. Discovered that the Stewart Systems primer is too thick for the Preval sprayers, so I’ll have to try it thinned down a bit…for now, I just loaded up the gun and shot with that. After the primer had set (sped up by setting them under the infrared heater, which has been a godsend for cold-weather priming), I clecoed them in place and pulled the 40 blind rivets that hold them in.
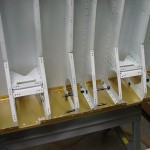
Clecoed the angled side ribs to the bottom skin in preparation for riveting, along with the forward tab that connects the rib to the 705 bulkhead. Need to remember to revisit one rivet location near the rear spar on the side skins, that others report really should be a flush rivet to prevent interference with the rear spars later on. After the angled ribs are riveted on, the tailcone can be attached again and riveting can commence.
