Prep & prime marathon
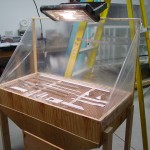
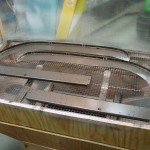
Hours: 9.3 | Posted in BulkheadsAfter an afternoon of etching (thankfully, the parts are generally small enough to be rinsed in the kitchen sink; winter priming the skins might pose a bit of a problem…), I put the newly-constructed priming table to the test. It does seem to have worked quite well, with no paint on the cars, floor, etc. The furnace filter, on the other hand, was quite covered in paint, fulfilling it’s intended role. The drying of the primer, a problem during last winter’s wing rib priming, was greatly aided by clamping a two-tube quartz infrared heater to a ladder to suspend it over the table; this kept things moving at a decent pace, and also provided some extra light from the built-in halogen worklight.
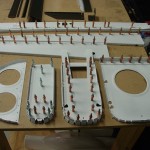
Using some photos from Mike Behnke’s log, I determined which parts would be visible from the cabin interior–those received the Rustoleum hammered brown paint over the primer. This was basically the sides and top of the 705 bulkhead, and the forward side of the 706 “baggage” bulkhead.
Once the priming was finished, I cleaned out the gun and had some dinner, followed by a bit more work–it’s hard to resist assembling some parts. I riveted together all the aft bulkheads, and most of the 705 and 706 bulkheads, which need just a few more parts attached, before calling it a night.
(Pointless note: beginning with the entry of 11/29, I’m experimenting with the fullsize pictures being at a larger resolution, 1280×960, than they were before…this saves me the step of having to resize them all before uploading, as my camera takes them at this size)


