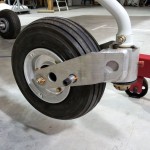
That’s how we roll
The replacement nav/strobe assembly arrived, along with the replacement wingtip lens. My hangarmate fixed my up with an engine hoist and sling for raising the nose to work on the nosegear. So, time for a night at the hangar.
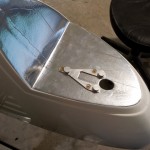
Trimmed the leads on the new nav/strobe, and crimped on Molex pins. Tested it out for awhile, and it stays in sync with the others, so — problem solved. Removed the old unit from the wingtip and installed the new one. The faulty one will be on its way back to AeroLEDs tomorrow morning for an autopsy. While I had it off, I grabbed a photo of the mounting bracket installed.
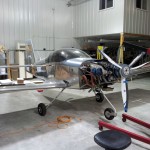
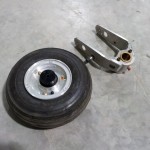
Easily raised the nose with a sling around the prop spacer, hooked to the engine hoist. I removed and disassembled the nosewheel and fork, cleaned the axle shaft/bearing seal mating surfaces, and installed the axle according to the directions (tighten the ring until the bearings don’t rotate with the wheel), then tightened the screw on the preload-setting ring. Set that aside for a bit, while I attended to the fork assembly.
Cleaned & greased the bushings in the fork, along with the spindle. Slid the fork on and installed the washer stack and big nut, then tightened it down with the giant (3/4″ drive) socket/ratchet, until I had the desired figure on the fish scale. My cheapo fish scale I bought isn’t perhaps the pinnacle of professional measuring devices, but it got the job done. On the advice of those who have gone before, I set the breakout force high (26lbs), so it has room to drop as the parts wear in during initial use. Once I had that set, I drilled the 1/8″ hole across the spindle, removed the nut to deburr, and reinstalled the whole stackup with cotter pin.
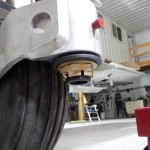
Reinstalled the nosewheel to the fork, torqued and marked everything, and we’re done.
Hours: 2.2 | Posted in Electrical, Endgame, Gear & Fairings | Comments Off
