Pop rivets & dust
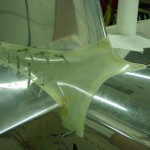
Allison joined me in the shop for a bit to finish removing the tape gunk from the empennage fiberglassing adventure. While she worked on that, I sanded the micro and shaped the edges of the emp fairing. After fitting it back onto the plane, I’m pretty happy with the fit. Now, I’m going to use this (and the emp tips) as a learning canvas for fiberglass finishing. I have a box of PPG stuff here that I’m planning to use, which I chose because it seemed to be the most well-documented on the forums and build logs.
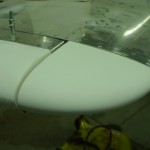
I also drilled the HS tips to #30, dimpled the skin, and countersunk the fiberglass. These are ready for finishing, then attaching. The goal with the fiberglass stuff is to get it to an acceptable level of finish and wearing a protective coating. If it needs to be dealt with further, I can revisit it before paint (or let the pros make it shine as part of the pain process).
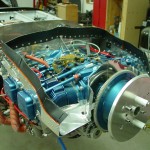
With the fiberglass dust (ack) cleaned off the workbench, I pulled the clecoes from the baffle airseal strips and installed the large-head pop rivets that hold it in place.
Finally, I installed the latest version of the EFIS software from AFS. The problem where the screen blinks durin initialization when displaying the VP-X status page has not been fixed. I pulled the config files to load into the computer and update some things. (Hint: Linux works better than Windows for editing these files, as the line breaks display correctly…no surprise, since the AFS box runs Linux internally…)
I’ve also been working on the paperwork side, having built an InDesign project and templates for the POH, and compiling the “best of” from several existing POH’s that others have shared on their websites. There’s lots of specific information to research and fill in, and plenty of stuff yet to write. Being a layout nerd and a perfectionist, it’s possible to pour hours into this part, too.
Hours: 4.5 | Posted in Cowling & Baffles, Electrical, Wing & Tail Joins | Comments Off


