The small stuff
Not alot of visible progress for the hours today, just working on a number of small things.
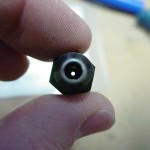
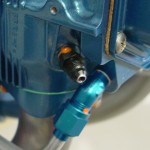
- Assembled a .040″ restrictor orifice into a -4 straight nipple fitting, and installed into the #3 cylinder for pickup of manifold pressure. The #10 sized orifice from McMaster-Carr (2943T887) works nicely in a -4 fitting size, just requiring the fitting to be tapped. After tapping the fitting, I installed the orifice with high-temp threadlocker. I also tapped the orifice from the hose side, rather than the cylinder side, so that if it were to somehow work loose, it could not travel into the engine, but into the hose.
- Finished installing the wing wiring connectors by terminating the wires on the left wing.
- Reinstalled the fuel vent line tubing that passes through the fuselage sides; torqued the fittings. Cut the vent lines to proper length.
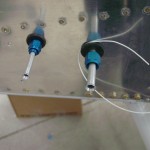
- Smoothed and flared the ends of the fuel pickup and vent tubes that protrude from the fuselage.
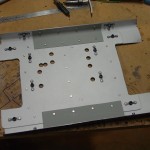
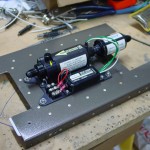
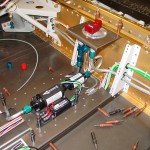
- Riveted the doubler plate for the fuel pump to the tunnel cover. Fabricated a pair of stiffener angles for the same cover, to beef up the sides of the assembly and reduce vibration. Affixed the pump to the cover plate, and test fit it in the fuselage; tweaked a couple fuel line bends to get the selector-pump-firewall plumbing aligned. Cut and terminated the fuel pump wires.
- Put some temporary zipties on the tubing in the tunnel to hold things in place for now.
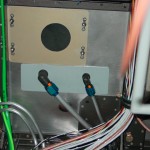
- Removed the firewall passthru fittings to fabricate and install a doubler on the inside of the firewall. I had used the thick aluminim spacer/washers that Van’s sends, but there was too much flex in the FW still for my taste; this beefed it up nicely. Reinstalled fittings with doubler aft and spacers forward, and torqued fuel & purge return lines at the firewall.
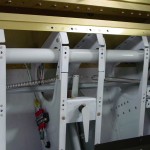
- Installed the closure pieces for the inboard seat pan ribs, that bridge the gap which is cut to allow installation/removal of the control column.
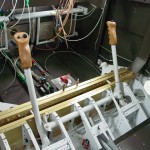
- Temporarily installed the roll trim assembly in order to find the correct angle for the metal tabs that bolt to the lower end of the control sticks, so I could torque the bolts on the rod ends that tie the sticks together in roll. Also to see how the trim goes together. Followed the plans for setting the spring lengths, but they seem as though they might be overly tensioned…need to see where others have ended up on the length. The issue may be that the plans have you use the forward-left-most stick position to set the spring lengths, and without the elevators and ailerons attached to hit their stops, I suspect the stick travel is a fair bit more than it would be normally, which would result in stretching the springs excessively. So, setting the spring length may end up part of the after-final-wing-mating task list.
- Also torqued the bolt for the elevator pushrod at the control column.
I found that the Goop used on the stick grips cured well, and the grips are solid. Also sent off what I hope will be the last of the minor revisions on the panel layout, so that should be cut sometime next week and on its way. Hoping to have the harnesses from SteinAir sometime soon, as that’s all I’m waiting on to wrap up the airframe wiring. Had made contact with the engravers about doing the placards for the panel, but they seem to be slow on the email (or at least haven’t replied yet), so I’m not sure the current status of that piece.
Hours: 6.8 | Posted in Center Fuselage, Electrical, Plumbing | Comments Off
