5th
June
2009
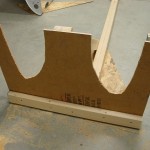
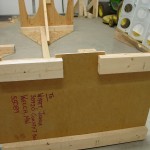
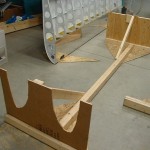
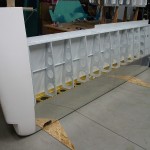
I know, the plans say to build this before building the wings, but I didn’ have room for two jigs and a cart. No problem to build this after the fact, using a paper tracing of a leading-edge rib (the need to have the rib shape is the only reason I can see that this would need to be done before wing construction). I took the left wing out of its jig, then modified the jig to make the cart; shortening the length to 9′, the width to 3′, and removing the uprights. The upright beams are replaced with plywood panels (recycled from the fuselage crate lid)–one end has a cutout to recieve the leading edge, the other end has a cutout to hold the spar root. Need to pick up some wheels to bolt on the bottom, but other than that, it’s ready to go.
Hours: 2.9 | Posted in Wings |
5th
June
2009
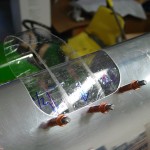
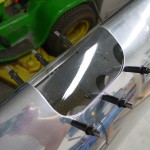
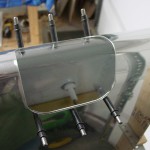
Before dropping the left wing out of the stand (which means turning it nose-down in the wing cart), it seemed like a good idea to fit the lens for the leading-edge light, since it’d be difficult to access in the nose-down position. Followed the directions that came with the kit, and everything worked out nicely. You enlarge the holes in the plexi twice after initial drilling, so there is the opportunity to shift them slightly if alignment needs to be fixed. This one’s not perfect (the holes on the top side ended up being ovaled to tweak the fit), but certainly fine, and the ovals aren’t visible from the outside…once more chance on the other wing.
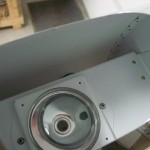
Trimmed the lens to size with utility knife and bench sander, smoothed with #600 sandpaper, then fit into place using a packing-tape “strap” as described in the instructions. Drilled, drilled some more, deburred and countersunk, then put together the reinforcing strips that hold the nutplates (prepped these for the right wing install too). The lens won’t get fit for good until after the next priming session, so that those strips can be primed, but I did install the internal mounting bracket, now that the LE riveting and AOA installs are complete. Left the bulb out to save it from potential vibration. I think it ended up looking pretty good. At some point after it’s flying, I may pursue the “Pete Howell DIY HID modification” to get more light output…but for now, these ought to get the job done. My plan is to have these on a wig-wag circuit for recognition, as well as taxi/landing steady-on states.
Hours: 2.1 | Posted in Accessories & Mods |
5th
June
2009
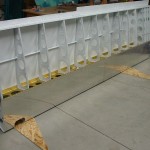
One last session with Allison to finish up the skin-spar rivets on the left wing top skins. With that, this wing is ready to come out of the stand! Of course, I forgot to take the “finished” picture in the stand…but here it is after removal from the stand (stand parts being used to build the roll-around wing cart). Couldn’t resist clamping the wingtip on there for a minute to see how it looked.
Hours: 0.9 | Posted in Skin Panels |


