21st
September
2009
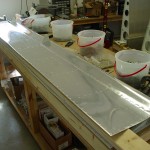
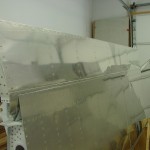
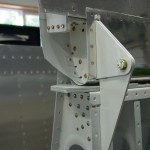
Prepped the long aileron pushrods for primer, along with touching up spots on the wing needed to be spot-primed after assembly. Greased and installed the aileron bellcranks; torqued the bracket-spar bolts, and the pivot bolts. Also replaced the 4 bolts on each aileron that may have been overtorqued with fresh bolts & nuts. The removed ones showed no signs of distress, but better to be sure than wondering when it comes to control surfaces.
Hours: 2.4 | Posted in Ailerons |
13th
September
2009
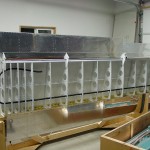
Pulled in the wing conduits; a painless–if rather loud–process.
Hours: 0.3 | Posted in Accessories & Mods |
11th
September
2009
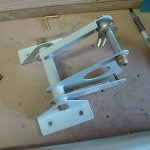
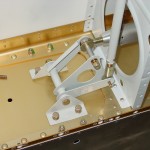
Spent some time monkeying with the internal workings of the wing. Reamed the bellcrank bushings and turned them down to the proper length, then assembled both bellcranks. Some of the bolts that came with the autopilot servo install kit are too short, so it looks like I will need to order a few longer bolts…add to the list. I also need to look up what an appropriate grease is for the bellcrank bushings–the manual says “your favorite multipurpose grease.” The stuff I have says it is rated to -20F. Presumably, the possibility exists that the thing could be colder than that at altitude, so is it appropriate? (Of course, my truck is lubed with the same stuff, and has worked fine in temps colder than -20F…) I’m sure there’s a common aviation grease of some sort for this purpose, too.
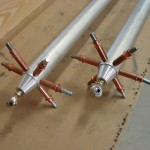
Cut and drilled the pushrods, making them a bit longer than plans, as I’ve heard of some people wishing they had, when they had a hard time obtaining the required amount of thread engagement on the rod ends. After dosing the insides with primer, I assembled the short steel pushrods (riveted per plans), but the longer aluminum ones still need to be primed & riveted. Also had a bugger of a time locating the jam nuts for the rod ends (hint: look in the bag marked “spar bolts & misc”).
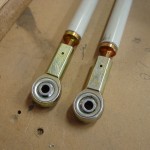
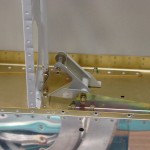
Temporarily put the bellcranks in the wings (I didn’t realize before that the bellcrank brackets had to come out, as the center bolt is too long to insert with the bellcrank in position.) and set the pushrod length using the straightedge aligned with the tooling holes and the bellcrank alignment tool. I’ll have to get the protractor out and see if there is enough aileron travel the way it is, or if the spar pushrod holes need to be relieved to allow more clearance; the pushrod swings up/down and in/out as it moves through its travel.
Hours: 6.2 | Posted in Ailerons |
11th
September
2009
Hours: 2.8 | Posted in Flaps |
10th
September
2009
Fit the top skin and leading edge skins to the left flap, and riveted them in place. Made a couple light smilies when I lost track of the gun during the vertical riveting. Sigh…but no big deal.
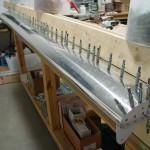
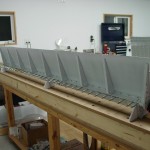
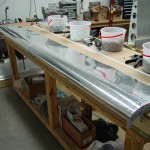
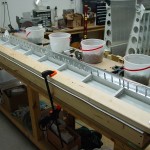
Tonight’s session also saw the passing of the 500-hour mark on the build. It doesn’t seem like that much time, but I have been working on the project for over two years (I started in earnest in May, 2007). This means I’m somewhere between 1/4 and 1/3 of the way done, based on hours. So, 4-6 more years?
Hours: 2.5 | Posted in Flaps |
8th
September
2009
Hours: 0.4 | Posted in Flaps |
7th
September
2009
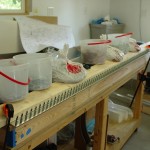
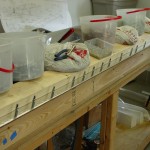
Almost finished the right flap — just a portion of the trailing edge rivets remain. First, the top skin is riveted to the spar & ribs in a manner similar to the ailerons. The tungsten bar is great for this–it’s small enough to nest into the spar channel and tuck into the ribs.
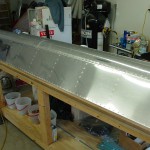
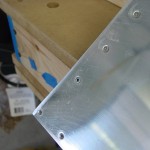
After riveting the top skin on, the flap is flipped topside-down on the table and weighted in place, then the bottom skin riveted to the spar & nose skin. This is a tight operation, squeezing inside the flap with the weights/clamps/boards in the way. Finished it up without a problem though, then the whole thing is weighted flat to the table, and the bottom skin-rib rivets inserted. These are blind rivets everywhere but the outboard end rib, which can be squeezed. I also used blind rivets at the most aft location in the top skins, same as on the elevators & rudder…those ribs are so narrow at the aft end that it’s nearly impossible to buck anything in there, and certainly not with any of the bars I have.
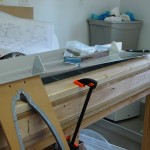
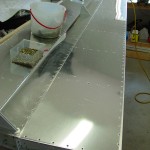
Once the skins are in place, the weights are put back in place for the trailing edge riveting, which I’m doing using the same squeezing process I’ve used on all the other control surfaces. I had to leave for work before finishing up this flap, but it’s nearly done.
Hours: 3.6 | Posted in Flaps |
6th
September
2009
Started out with a few hours spent priming all the flap & pitot mount components. Had some trouble with that, but nothing major…the tip of the gun continually clogged up with a “skin” of primer, a result of (I believe) the warm temps, direct sunlight warming the primer in the gun hopper, and the fact that I was using the last slug out of a quart of primer. When I opened a new jar, I realized that the old stuff was noticeably thicker–because the solids settle to the bottom, and even though I stir thoroughly, my stir skill must not be up to par. Some of the solvent portion of the mixture probably flashed off over time too, since this can has been used for spot-priming, as well as several gun sessions. Oh well, everything that needed primer got coated.
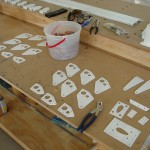
The first task is assembling the flap brackets/nose rib assemblies. I clecoed the brackets and spacer blocks together for each bracket, then ran a Q-tip dipped in primer around the inside of the lightening holes to coat them better, as that spot is difficult to get good coverage on by shooting, at least to a painting amateur like myself. Then added the nose ribs, which form the outside of the assemblies, and riveted them together.
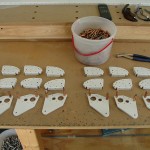
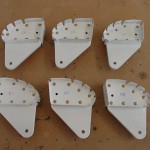
Clecoed and riveted the bracket assemblies to the spars. The first one took some head-scratching to figure out the best way to get at all the different rivets. Combination of the longeron yoke and standard yoke, with various set configurations, got most of the rivets; the only ones needing to be shot were the three in the “elbow” of the heavy angle on the inboard end of each flap. The second spar went much faster, since the figuring was already figured. After the brackets were in place, the main ribs were added to the spars, and those rivets are easy to get at with the longeron yoke.
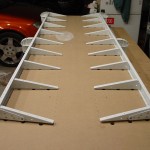
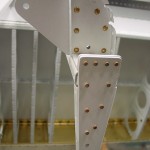
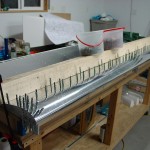
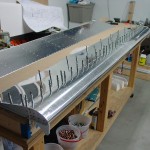
Continuing on with the right flap, I clecoed on the top skin, followed by the nose skins. Weighted to the table, I drilled the nose rib holes to 7/64″ for the blind rivets, then installed all the skin-nose rib rivets. The right flap is ready for top skin riveting.
Hours: 7.4 | Posted in Flaps |
2nd
September
2009
Took advantage of a day off work–probably the last for awhile with the semester starting next week. Hopefully progress won’t come to as dreadful of a stop as it did last school year, but I lose at least two nights a week, often more, from here to the end of May ’10.
Countersunk the spars and TE wedges, then dimpled all the skins & ribs, followed by several hours swimming in etch. These flaps have a great lot of parts. Ready for priming, but not enough time before sunset to get it done, and past experience priming in the dark wasn’t a pleasant experience.
Hours: 6.4 | Posted in Flaps |
1st
September
2009
More flap deburring tonight…wrapped it up with the flap skins. Countersinking & dimpling remain.
Hours: 2.1 | Posted in Flaps |


