7th
June
2008
Short work session etching the left elevator parts for priming once dry…and with today’s humidity, that may take awhile. In other news, it appears that the primer which had separated is still usable…it’s back to normal after some extended stirring, in keeping with the instructions on the jar.
Wings should be shipped, or shipping soon. Next order of business is to read up on kit arrival/unloading. Do I need liftgate service, or is it easy enough to unload off the truck? Part of that is dependent on how much I could save by driving to the ABF terminal, which is apparently in Owatonna, about 45 miles from here. I have a full-size pickup, so that may be the best option. Still would need some ingenuity or a couple other guys to unload the crate from the truck, but that’s easier to arrange on my schedule vs. the trucking company’s schedule…
Hours: 1.0 | Posted in Elevators |
4th
April
2008
Temps up near 60 today finally brought an end to the winter hiatus; it’s been too cold to do anything in the unheated shop. Found my place without much trouble, and deburred & dimpled all the components of the left elevator before dinner. Priming will be a task for a calm, warm, dry day, then on to assembly. Which means that the left elevator doesn’t have much work left to wrap up. Then it’s trim tab & trailing edges on all the empennage components (I intend to do all the TE’s at once, since I have only one tube of Proseal).
Hours: 3.2 | Posted in Elevators |
6th
November
2007
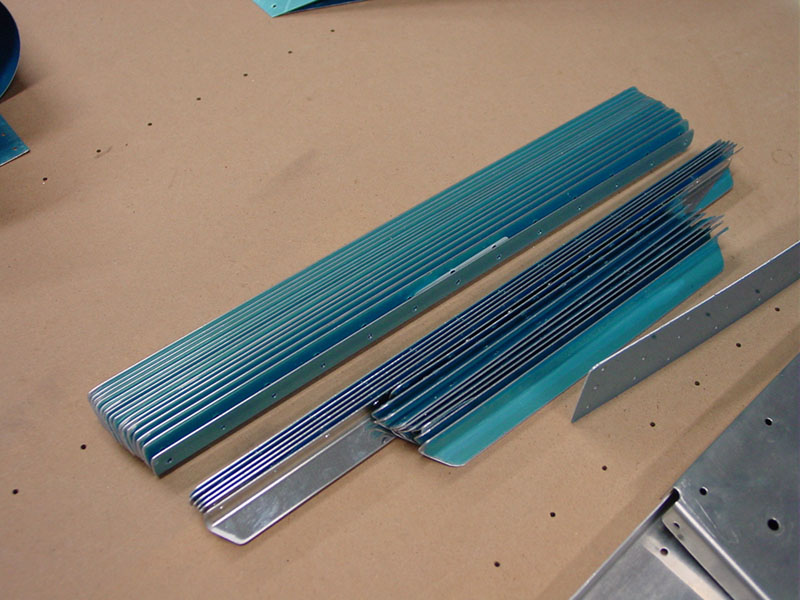
Short work session: removed plastic from rivet lines and internal skeleton parts, then started deburring. All holes are done except the inside of the skin and the stiffeners. The shop warms nicely from a hot engine (I’d changed oil in the truck before this session), but the lowering temperature eventually won, with no heater in the shop, and I had to give in. Continuous smaller steps are the goal for now.
Hours: 1.5 | Posted in Elevators |
24th
September
2007
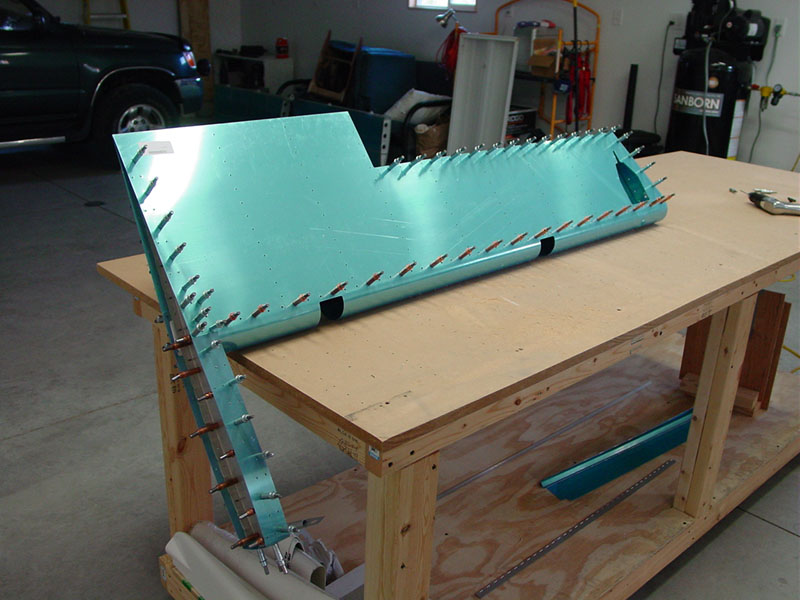
Short time in the shop today after work, started the left elevator. I discovered that I had already drilled the stiffeners to the skin with the right elevator, a nice time-saver. I was able to get the entire skin & skeleton clecoed, match drilled, and taken apart again. The parts await the next step, deburring. The assemblies seem to go quickly, I think partly because I spend plenty of time thinking about how it’s going to go together. I read a “working smart” article once that advised that building is easier if you build it once in your head first…I concur.

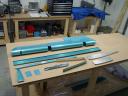
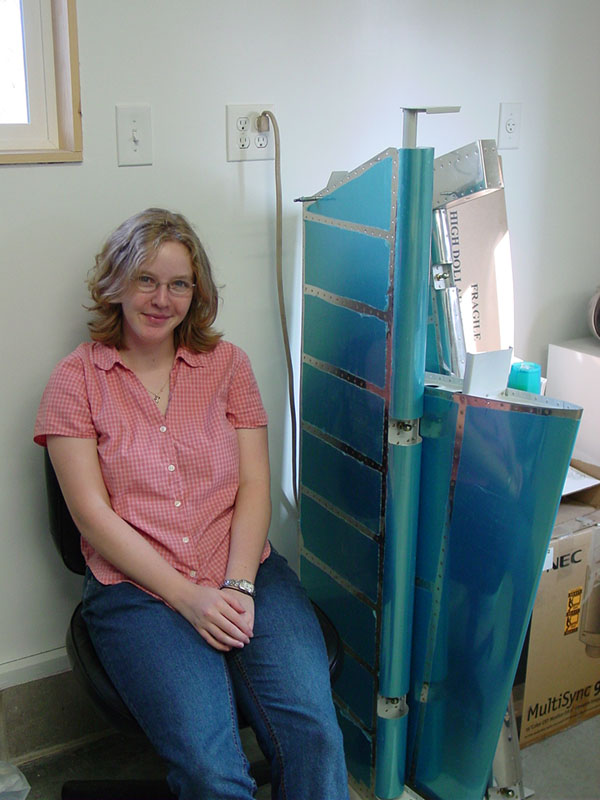
Allison guards the completed parts:

Hours: 1.4 | Posted in Elevators |
7th
September
2007
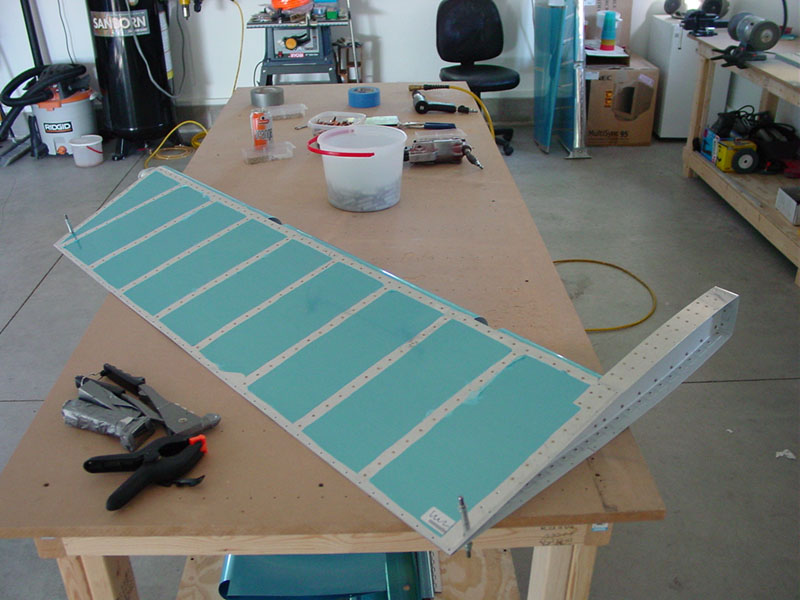
Off from work today (my job is only 20 hours/week for the time being), so, among other projects today, I assembled the right elevator. Everything went smoothly except for a handful of tricky rivets, and those weren’t particularly unsmooth, just required some time spent staring at them and holding up various metal tools to gauge their possible effectiveness as an improvised bucking bar.
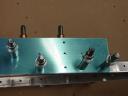
Riveted the spar and root with flush rivets, then attached the control horn weldment.

Backriveted the stiffeners to the upper skin surface, then riveted the spar in place–I padded a footed bucking bar with paper towels and duct tape to prevent damage, and the whole row of rivets went easily and set well. I screwed a scrap piece of plywood to the benchtop to hold the lower skin surface down during riveting, and used strips of duct tape to hold the top surface open.

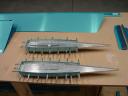
Next, riveted the stiffeners to the lower skin and built the tip rib assembly.

Riveted the assembly in place (here’s 2 of those tricky rivets) to the spar, then weighted the whole thing down and pulled the lower spar rivets. I elected to keep things consistent and did the entire lower spar row with the CS4-4′s depicted in the plans. Once I figured out how to prevent the puller from jumping around as the mandrel breaks, that was easy.
Finally, squeezed the root and tip skin-rib rivets. Two more tricky rivets live in the junction of the two skins, spar, and counterbalance rib at the outboard end…improvised a bucking bar here (the tight-fit dimpler from Cleaveland, padded with tape and held sideways).

All in all, good progress for a day. This elevator will get set aside now to await its trailing edge installation. Left elevator is next.
Also, passed 100 project hours in today’s session! Only 1600 (optimistically!) to go…
Hours: 4.6 | Posted in Elevators |
3rd
September
2007
Quick morning priming session for the right elevator parts. Afternoon & evening working on other projects and spending time “at home.” Priming goes pretty fast, actually, once everything’s set up; even cleanup is easy with the waterborne primer/sealer I’m using.
Hours: .8 | Posted in Elevators |
2nd
September
2007
Primer prep on the right elevator parts: etch, scrub, rinse, repeat. Set everything on the rack in the shop to dry out before priming.
Hours: 1.3 | Posted in Elevators |
31st
August
2007
Can’t believe that it’s been nearly a month since last progress on the project. But, lots going on. Mom came to visit at the beginning of the month, then I had job a job interview, and was offered the job, so I had a week to finish up some “loose-end” type projects around the house. The last couple weeks have been settling into the new job, and finishing up some audio projects leftover from before the summer. I also had to rebuild my DAW (audio editing workstation) after its power supply died and took out the motherboard in the process.
Now things are slowing down, as the summer closes and life begins to return to a more predictable rhythm. The other news, and more inline with the theme of this site, is that I passed my PPL checkride on August 25–exactly 1 year and 6 months after my first flight lesson. Total time pre-checkride was 48 hours. I completed the oral exam and preflight about a week earlier, but we rescheduled the flying portion due to crummy weather…not unflyable, but not what I wanted for the test. Saturday morning ended up being gorgeous–clear blue sky, cool air, and smooth. Passed with 1.3 hours on the Hobbs…pictures to come later.
Anyway…today’s progress! With Allison out of town visiting relatives in Duluth over the holiday weekend (I’m staying here because it’s the first weekend for students on campus, which means events that need audio support), I got a chance to dig back into the project. Cranked up the compressor, turned on the radio, and went to town. The right elevator is drilled, deburred, and dimpled, ready for etching and priming. I had originally planned to bring both elevators to this point before continuing, but I’m thinking I might go ahead with this one first. Mainly because there’s nothing to do after the emp kit is complete…wings are but a dream at the moment, due to our financial situation from 4 months of out-of-work, doctor bills, and lack of income. This should start to turn around in January, though, when Allison finally turns into a certified teacher and hopefully gets paid to do it. So, with any luck, plus the 2-month factory lead time, wings might be a project for next winter. My fingers are crossed. There’s been a couple 9A wing and/or fuse kits for sale lately, too…maybe the stars will align and I could pick up something secondhand eventually, and save some dough.
Until then, it’s progress as normal. Hoping that it will be more regular progress. No pictures of today’s work, as Allison took the camera to Duluth for more pictures of the well-photographed baby. Oi.
Hours: 5.0 | Posted in Elevators |
7th
August
2007
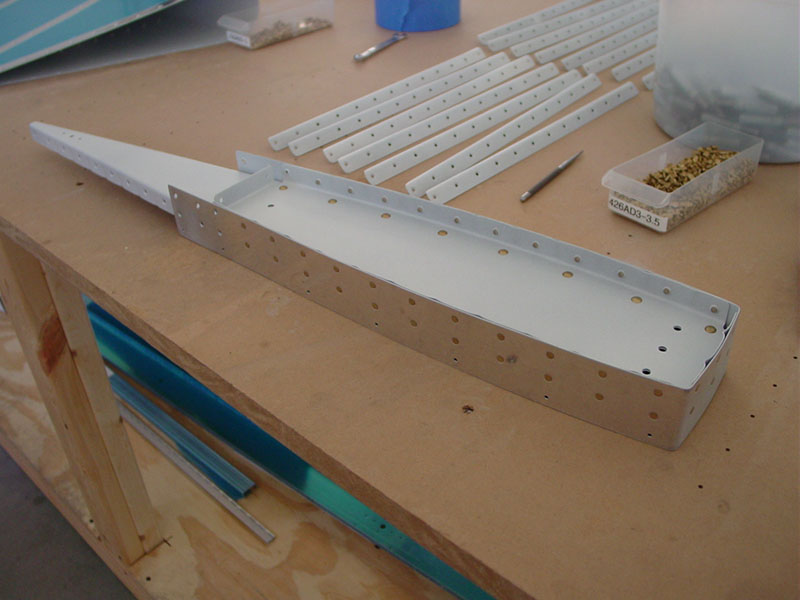
Deburred the edges of the counterbalance ribs and tip ribs, fluted, aligned the holes, and clecoed left & right assemblies together. Drilled the rib web holes out to #30 per instructions. After clecoing on the skins, I had two holes on the top & bottom of each E-913 counterbalance skin that were out by 1/2 hole each (the aftmost hole on the short CB rib, and its partner on the tip rib). Pondered and took pictures, then studied the plans…had the counterbalance skins on backwards (with the overhang for attaching the tip on the inside versus the outside). Duh. Flipped them around and everything lined up nicely.
Hours: 1.5 | Posted in Elevators |
30th
July
2007
Started the elevators today; spent some times messing around to see how it all goes together, then cut the stiffeners to their appropriate lengths and drilled. I intend to proceed along the same path as the rudder: fit everything together first, then prime everything in one session before assembly. That may change, but it worked well for the rudder. After everything’s ready, I’ll proseal and rivet the trailing edges. In the meantime, I’d like to play around with the squeezing method for setting the TE rivets, one way is described on Matt Brandes‘ site, that uses a scrap piece of AEX wedge. I haven’t looked to see if there’s any that will be left over once the TE’s are cut, but perhaps I can beg on the forums for a donation from someone who broke a piece…or take apart my practice kit TE and use that.

Hours: 3.0 | Posted in Elevators |