28th December 2008

Skeletons and ribs…oh my!

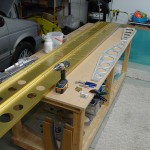
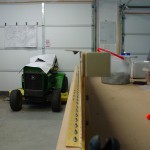
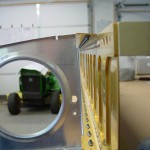
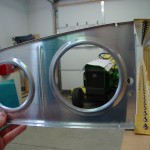
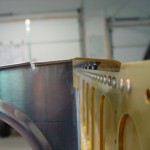
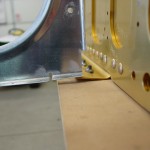
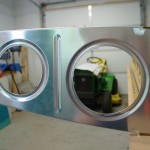
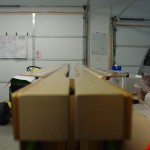
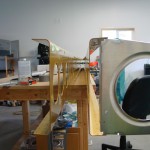
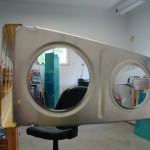
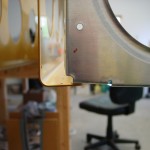
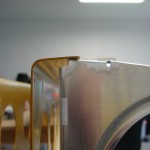
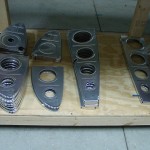
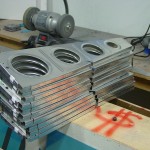
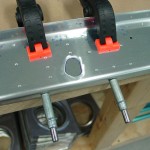
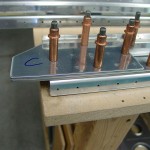
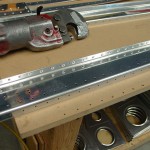
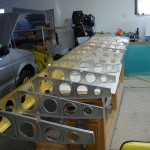
Drew up a proposed list of required wires in the wings, and went on drilling all the ribs for wiring conduit and enlarged tooling holes, after looking at other builders’ sites.  Wrapped up all the ribs, and proceeded to cleco the skeleton together; hey, these are starting to look like wings!

Left Wing Proposed Wiring:

  • Equip List: pitot, AOA, landing light (Duckworks)
  • 7/16″ Hole 1 (pitot hole; to pitot bay only): Pitot
  • 7/16″ Hole 2 (to wingtip; enlarged tooling hole): Strobe pwr
  • 3/4″ Conduit (root to tip): Landing Light pwr, Nav light pwr, AOA upper/lower pressure, pull string

Right Wing Proposed Wiring:

  • Equip List: AP roll servo, wingtip nav antenna, taxi light (Duckworks), OAT probe
  • 7/16″ Hole 1 (pitot hole; to pitot bay only): -open-
  • 7/16″ Hole 2 (to wingtip; enlarged tooling hole): Strobe pwr
  • 3/4″ Conduit (root to tip): Taxi light pwr, Nav light pwr, AP control, Nav ant coax, OAT, pull string

Not sure if the OAT should go in the left or right wing…probably doesn’t matter, so will depend on balancing weight and/or length of wires to EFIS.

Drilled the rib-to-spar holes, both front and rear, and took it all apart again for primer prep.  Primer prep is my least favorite part of building so far…the priming isn’t bad, but the the seemingly endless etching, scrubbing, and rinsing I could do without.  The time savings to go with an unprimed plane probably aren’t significant enough in the grand scheme to be worth not priming, though.  Deburred all the left-wing ribs, then prepped all the rear spar components, and 7 left-wing ribs.

I’ll split up the primer prep by doing all the left wing ribs, then go back and deburr the right wing ribs before etching.  I still need to come up with a scheme for an indoor priming “booth” of some sort; someone on VAF mentioned using a cheap screen gazebo, but I don’t know if a) it’s worth the cash, or b) if I’d be able to find one this time of year!  I might just get some heavy plastic and drape it from the garage door tracks somehow.

Hours: 5.8 | Posted in Spars & Skeleton | Comments Off
27th December 2008

Spars done, and a rib oops

Finished the spar prep by countersinking the tank attach and access plate screw holes, and spot-priming the countersinks.  Also fabricated the new set of tiedown bars, so the new spars are now at the point the old spars were before the mis-bent flanges were discovered.

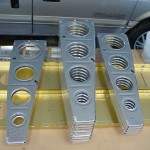
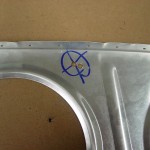
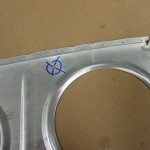
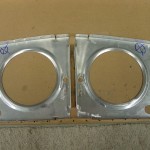
Moving forward, I went ahead and began drilling holes for wing wiring runs, and things took another turn south…this time, all my fault.  Lesson learned: stop while you’re ahead.  I printed off the page from Van’s that advises on where to install the wiring conduit (bottom of the rib, behind the first lightening hole), and proceeded to drill a hole in a rib.  Decided to move it about 1/2″ forward to center it between two skin-rib rivet holes, for ease of bucking later on, and drilled a second hole; not an issue since the first hole would get swallowed in the enlarged 3/4″ hole that’s made for the conduit, right?  Ok, so I proceeded to transfer that hole location to a set of L & R ribs to use as templates for drilling the other ribs…that’s when I saw it–the holes I drilled were on the TOP side of the rib.  D’oh!  Re-drilled the holes on the BOTTOM side of the rib, and all is well…except that I have three ribs with extra holes:

  • (1) W-911-L with (2) extra #12 holes on the top side
  • (1) W-911-L & (1) W-911-R with (1) extra #12 hole on the top side

I’m assuming that the ribs with the extra single hole won’t be an issue, but that the one with the two holes will either need replacement, or reinforcement of some sort.  A new rib is just under $17 from Van’s.  I’ve sent pictures to Van’s for their take on it.  I’ll continue moving forward with the ribs and await their reply…I’d like to get the wiring holes drilled, ribs drilled to spars, and then start priming everything.

Hours: 3.3 | Posted in Spars & Skeleton | Comments Off
23rd December 2008

Spar re-do, nearly re-done

Finished drilling and installing all the spar nutplates; just need to countersink the center screw holes now.  Also need to re-make the tiedown bars, as the ones I had made for the old spars don’t match up–the top & bottom attach holes are perfect, but the center pairs of holes–the ones that are in the web, that have the aileron bellcrank brackets on the back side–are off by about 1/3 diameter.  Not wanting to oblong these holes, as they’re on the spar and attach flight control hardware, I have ordered a pair of tiedown brackets from Cleaveland Tool.  Also ordered more clecos (300 3/32″ and 100 1/8″; Brown Tool had a holiday special thru today), as I intend to build both wings simultaneously, and–especially with the longer wing of the -9–more are helpful.  I think I will have a total of 600 3/32″ and 250 1/8″ now.

Hours: 2.4 | Posted in Spars & Skeleton | Comments Off
20th December 2008

Spar do-over, part one

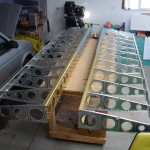
Now that the shop is cleaned & organized, and the winter concert rush is over, back to work.  Tonight, started the nutplate attach process on the new spars; drilling holes to size, deburring, and priming in advance of attaching nutplates.  Ought to go faster the second time, right?!  I think I will use the Van’s method of countersinking (use the nutplate as a guide), rather than the jig method, this time…I’ve read on other build logs that it’s worked fine with no adverse results, and it *has* to be easier…

Hours: 1.2 | Posted in Spars & Skeleton | Comments Off
20th December 2008

Screw countersink diameters

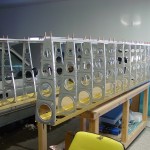
Post for reference: this is the diameter of the finished countersinks for #6 and #8 screws.  From Brad Oliver via Mike Bullock (post here / also on VAF here):

#8: 0.365″ – 0.375″ (Fuel Tank Screws)
#6: < 0.3125″ (Inspection Panel Screws)

Posted in Spars & Skeleton | Comments Off
2nd August 2008

Rib prep wrapup

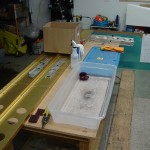
Finished the day by finishing the ribs.  All are deburred, flanges squared, and fluted.  Next step is match-drilling the skeleton, then prep and prime.  Waiting on a solution to the spar problem, and for my order of primer to arrive.

Hours: 4.0 | Posted in Spars & Skeleton | Comments Off
2nd August 2008

Am I crazy, or are my spars messed up?

I test-fit some deburred ribs into the main wing spars today, and I think I’ve discovered a problem. The spar flanges on both spars appear to be bent at the opposite angle of what they should, resulting in the ribs not fitting at all when in the correct orientation, but fitting perfectly when upside down. A photo tour follows, and I’d appreciate knowing how this compares to others — am I crazy and somehow have it all wrong, or do I have spars that are bent wrong? (Click any thumbnail for a full-resolution image.)

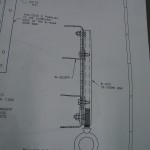
First, a photo of the plans section (DWG 11, Section A-A) where you can see that the upper flange should be bent downwards, toward the center of the spar, and that the bottom flange should be bent downwards, away from the center of the spar.

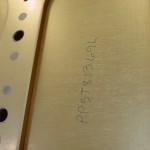
Here’s the ID of the spar I’m working with, clearly marked L, and a picture of the inboard end, to show that I have it clamped to the bench in “flight” orientation–note the angle is on the bottom of the spar. The platenuts for the access panels are on the bottom side, as well.

Here is a shot from the inboard end looking out. The upper flange clearly bends upwards, rather than downwards.

Hold up a rib (since this is the inboard end, this is a W-910-R rib) to the spar…when the forward flange of the rib is parallel to the spar web, the angles of the upper and lower flanges seem to be exactly opposite of the corresponding spar flange. Also, a wider picture to show that the rib is correctly oriented–note the cutout for the J-stiffener; and close shots of the top & bottom.

Flip the rib upside down and you’ll see that it fits into the spar with near perfection…unfortunately, the J-stiffener slot is now on the bottom of the wing, and the holes for the flap hinge bracket are on the top. Not going to work! (In fact, the manual is very specific about not building wings upside-down…)

How’s the other spar? Well, clamp them both upright in mirror-image…same problem.

The situation is the same on the opposite end of the spar. (The L spar is now on the right side of the photo, and the rib pictured is a W-912-R.)

Initally, I did accidentally try to fit the ribs upside-down, since that’s the way they were naturally fitting into the spar; they would only go in one way because of the angles, so I assumed that was the correct way. I found that the bottom spar flange was “gapping” as described in threads here, here, and a more recent one from early July here (links to the related build log: problem and solution). I did try adjusting the angle of the lower flange slightly to close the gap, as was recommended to the builders in those links (and also in the latest RVator…). However, the minor adjusting I did was a) to only ONE flange of the spar (the lower flange, which, as you can see in the pictures, is less off-angle than the upper flange), and b) only a couple 32′nds, not enough to be the cause of this problem. After looking again at the plans and some photos, I realized it was upside-down, and then discovered that there was a major fit problem with the ribs.

Do I have it all wrong? Or is it truly messed up? Comment or email rv9a@pacificrimsound.com

Hours: 3.0 | Posted in Spars & Skeleton | Comments Off
30th July 2008

Wing ribs & tie-down bars

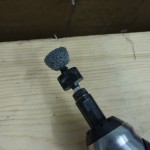
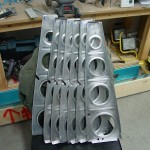
Allison put in another hour on the bench grinder, helping to debur wing ribs.  We’ve made it through more than half the stack — only the large pile of main ribs remains.  Taking a cue from the mini-scotchbrite tool that can be made for the Dremel, I came up with a handy item for deburring the inside flanges of the ribs, especially the little finger bits on the leading edge nose.  I used the top half of a 1″ scotchbrite wheel that had split in half, fit it to the screw mandrel in the die grinder, and shaped it into a wide taper profile by turning it against the 6″ wheel on the ginder.  Just like the Dremel method, on a larger scale.  The secret is that after it’s shaped, unscrew it and put it back on upside down–so the wide part is at the top, tapering inward toward the body of the grinder.  I found this profile worked extremely well for deburring rib flanges, as it allows you to get the “cutting edge” into the bend radius; then you can raise or tip the grinder to debur the slots.  You can also use the blunt end of the wheel for deburring tooling holes and such, like the vent line holes on the tank ribs.  I still used the Dremel device for the corner slots, as the die grinder tool is too big to fit in there.

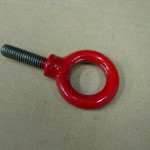
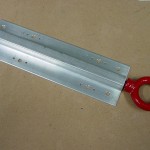
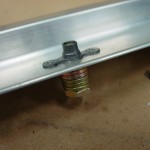
Shipment from Cleaveland Tool arrived this afternoon with new abrasive supplies, and tie-down parts.  I ordered their set of pre-tapped tie-down bars and power-coated rings–I had made a harmless goof in the fabrication of the tie-down bars and this gave the chance to fix it.  (Be sure which side of the spar is the top side when bolting the match hole in the extrusion…I put them both upside down, which didn’t look like it would be a big deal, it just means the threads would be recessed a bit farther into the wing than intended.  The part I wasn’t sure about was whether the tie-down rings would be able to bottom out, and thus tighten, in the threads before starting to rub on the wing skin.)  In any event, I would have bought the nice red forged rings eventually anyway, so this presented the opportunity to get all that and finx my little oops, plus it means I don’t have to buy a tap-and-die set (which would end up being an extra when I eventually figure out a way to move tools down from home), which probably saves something in the long term anyway.  I’m happy.

I have been enjoying Bob Collins’ Oshkosh coverage, as I’m not able to make it over this year, due to work schedule (someone decided we needed a motivational-speaker “retreat” on one of the days I had hoped to use for OSH), plus unexpected expenses arising from the storm damage.

Hours: 3.4 | Posted in Spars & Skeleton | Comments Off
29th July 2008

Wing rib deburring

Spent the evening decompressing in the shop and deburred some wing ribs.  Finished all the lightening holes with assorted 1″ and 2″ scotchbrite wheels in the drill press and die grinder.  Finished the leading edge ribs (non-tank) with the bench grinder and the 6″ wheel.  I used a handy tip I read from another builder about deburring the silly little finger notches — take a section of worn-out 1″ wheel and cut it into quarters, put a piece onto a Dremel screw mandrel, and shape it into a cone against the 6″ wheel on the grinder.  This creates a custom tiny scotchbrite tool for the Dremel–it actually works quite nicely, though the tiny piece wears down after a half-dozen ribs or so, and needs to be replaced.  No biggie, as I have two worn-out 1″ wheels.  More on order from Cleaveland to replace them, along with a bundle of hand pads for primer prep, a #12 bit (I discovered that the #12 slot in my bit set actually held a #11).  I also ordered a batch of Stewart Systems priming supplies from RFS.

Allison helped for an hour deburring ribs on the bench grinder.

Hours: 2.8 | Posted in Spars & Skeleton | Comments Off
27th July 2008

Tie-down bars & Rear spar prep

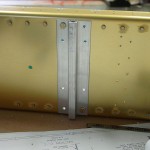
Fabricated and drilled the tie-down bars to the front spars.  Drilled & attached the nutplates for the aileron bellcrank brackets.  I used a short bolt stacked with washers to hold a nutplate in place as a jig for drilling.  The bars are off to await priming, which I intend to do as a batch with the rear spar components; they also need to be tapped for the 3/8 bolt threads.

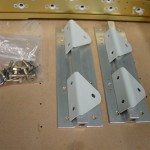
Prepped the rear spar components: drilled, deburred, countersunk and dimpled as appropriate (above the doubler at the inboard end, since these dimples would be nearly impossible once the doublers are riveted in place; their thickness prevents access with the dimple dies).  I need to order some more primer and scotchbrite to move forward on these; now there’s nothing to do besides start prepping wing ribs.

Hours: 5.7 | Posted in Spars & Skeleton | Comments Off