4th
January
2011
Installing more stuff on the firewall was the order of business again tonight…
- Painted the battery box and temporarily fit it in place (permanent install after firewall recess is riveted).
- Riveted the nutplates for the oil/manifold pressure hose adel clamps, as well as the fuse block doubler & nutplates.
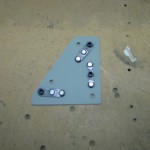
- Installed the fuse blocks and buss bars. Located one protection diode, but my crimpers are at work, and it looks like a second diode will need to be ordered.
- Drilled and installed nutplates for the transducer manifold, and temporarily fit the manifold (needs to come back off to install the hose fittings, which I need to order).
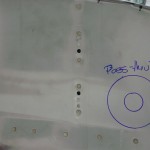
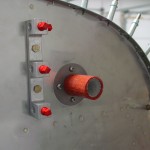
- Located, drilled, and temporarily installed the left-side wiring passthru (will install permanently with sealant).
- Fiddled around again with locations for the right-side passthru and both heater boxes. Still undecided. Basic question for the passthru is high (like the left side), or low (nearer the contactors). Saw a recommendation to locate them where the wiring has a graceful path to the engine mount tubes, so wiring can follow the tubes. This can be made to work either high or low. Looking for photos of other folks’ master buss cable installs.
- Installed the fuel vent fittings in the bottom skin. Still need to secure & torque the B-nuts.
Hours: 3.1 | Posted in Electrical, Engine |
28th
December
2010
No real project work tonight, but I did manage to assemble an engine hoist I picked up, and unload the engine from the back of the truck. Also over the past few days, a bunch of parts have been ordered for FWF-related stuff, so waiting on all that to show up–due to the holidays, it should start arriving next Monday, after I’m back to work full-time. Ah, well.
Hours: 0.5 | Posted in Engine |
22nd
December
2010
How to quadruple the value of a pickup truck…
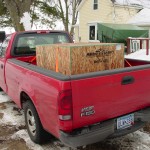
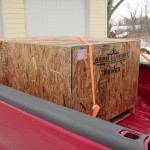
Picked up the shiny new Aero Sport Power engine today (1 day shy of 4 years since the tail kit was delivered, but who’s counting) at the freight depot, after a bit of a shipping snafu (I was expecting a call when it arrived so I could go pick it up…after watching the “expected delivery” date keep incrementing on the tracking site I called them, they said it had already arrived and had been sitting for several days because they had no phone number. The phone number was marked on both the paperwork and the side of the box…)
Four lag bolts later, I popped the top on the crate and beheld the wonders. 160 horses in a metallic blue package. The Airflow Performance throttle body is an impressive piece of kit, as well. Another box contained ignition leads, installation hardware and brackets, the wiring harness for the preheat system, engine manual and logbook, break-in guide, FI service manual, and even a couple shirts.

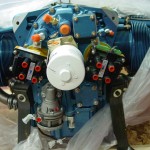
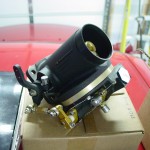
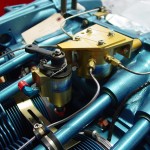

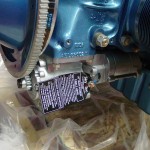
After inspection, I wrapped it back up in the plastic sheet with the desiccant bags inside for the time being. I suppose I should get some of those desiccant plugs that screw into the spark plug holes to help keep the guts dry. Until I get an engine hoist, it’ll have to sit in the back of the truck, though, which means Allison’s car is outside…which means we’re sure to get another whopper of a snowstorm.
Posted in Engine |
28th
November
2010
Back home from the turkey trip — received an email from Aero Sport Power on Thanksgiving that my engine is nearly ready to ship. So, pending the necessary large check, I could have an engine by Christmas. I have zero done (or even parts for) the FWF stuff, so much to be ordered there. (Wonder if I can trade in some Christmas trinkets…)
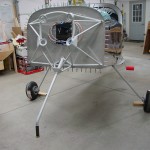
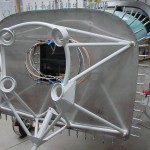
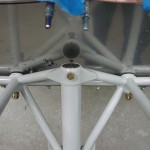
Today, I read up on drilling the engine mount and did the deed. This wasn’t a big deal at all: I supported the mount with a cargo strap hooked to the center spar, and moved it around until I found the best alignment with the four corner holes. Drilled two to 1/4″ and used some fuel line scraps to make bushings for the AN6 mount holes, then pinned those in place with some long AN4 bolts and drilled the other two holes. I used some long clamps to hold the mount in place while drilling for accuracy, and drilled through a couple more pieces of fuel line. Once the 1/4″ holes were done, I removed each bolt sequentially and enlarged the hole for the AN6 bolt. After the large bolt was inserted, I moved to the next hole. Once the four corner holes were drilled and bolted, the lower inboard holes were drilled, first to 1/4″ then 3/8″. I have the common gap between the mount and the firewall at the lower inboard holes; there are some spacers with 3/8″ holes left over from the fluid fitting bags, which look as though they might work ideally as spacers there.
Once the mount was bolted on, I inserted the nose gear leg and reamed that bolt hole. I did have to scrape off a bit of extra powdercoat from the lower ring of the leg to allow it to insert completely, and polished off the light rust that had formed. Coated the exposed steel with grease for protection.
Finally, pulled the engine mount and gear leg and set it aside again. There’s plenty of holes that need to be made in the firewall before it goes on for good…and more holes to be made after. This is a chicken-and-egg part of the build, where you don’t really want to mount the engine until all (or at least most) of the FW penetrations are made and pieces mounted, but you don’t know for sure where those holes should be until the engine is mounted.
Hours: 2.3 | Posted in Engine |


