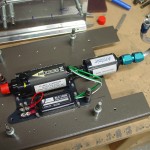
Lots of little tasks to keep going on today…
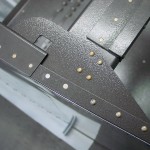
Riveted the canopy decks in place! This may come back to bite me later, but the instructions have this done long ago, and reaching over the fuselage witht he clecoes stabbing me in the gut was getting old. Bucking these was actually quite easy; the tungsten bucking bar fits in the gap for all but the 4 rivets just aft of the spar upright, and for those, I just inserted the bar into the “channel” farther aft, positioned it horizontally (completely inside the channel), then slid it forward and held it up with my fingertips through the gap. Method of assembly: completely remove the canopy deck and gusset, set all the rivets on the forward side of the bulkhead that hold the thick angle on the back, then install the gusset and rivet the 4 rivets on the top. Finally, put the canopy deck back on and set all the rivets along the longeron.
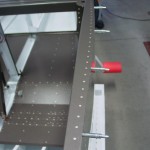
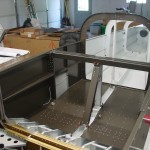
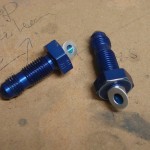
Turned threads off of fuel vent fittings by chucking them up in the drill press; made the angle cut, and deburred. Still need to find screen and attach it before these can be installed for good. Installed fuel vent lines from vent fitting, to stub through fuselage side to tank. Installed rubber grommets through side skin. I spent quite awhile bending the first one to fit right, then the other side was very easy, just duplicate it in mirror image on the bench, and it dropped right in with only minor tweaking.
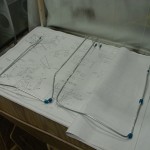
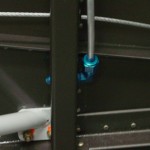
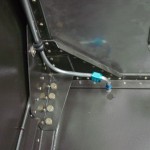
Installed rudder cables in the fuselage, and adel clamps at aft end. (Need to torque and mark those screws.) The string I had run earlier in the baggage area worked perfectly. Installed the swivel fittings into the static ports and ran the static line between them, including the tee. Ran static tubing forward, leaving a coil stored along the side of the fuselage with plenty of length to connect to instruments later.
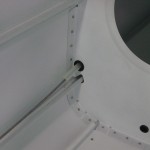
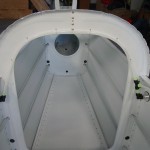
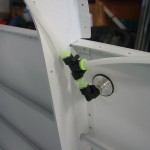
Installed the flap actuator center bearing block nutplates, followed by the flap actuator, motor, and side covers. Removed the side covers and set aside for later. Need to order the Ray Allen POS-12 flap position sensor, which will mount somewhere in this area.
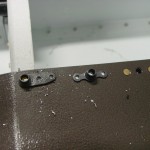
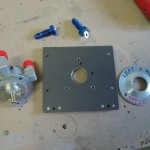
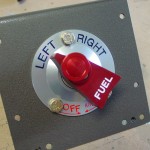
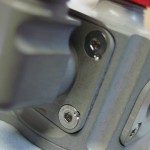
Installed Andair fuel valve to selector plate. Used AN3 bolts for now, later I will probably replace this with different #10 hardware, some sort of more attractive screw. Need to order more K1100-3 nutplates, since I stole from the supplied stock to mount the fuel selector. Removed the elbow fittings from the selector, lubed the o-rings with EZ Turn, reinstalled, and staked the screws. Like everyone else says, this valve is a work of art, and it’s hard to resist playing with the knob…no wonder it comes with a big red tag attached warning against “excessive dry operation.”
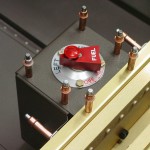
Cut down height of the boost pump “doghouse” cover by 1 1/4 inches, since the Andair pump is not as tall as the stock (AFP) pump and all the tubing/accessories that go with it, and more open cabin space is better. I could probably have cut another 1/2″ off of it, even. (By this point, it was getting late and I was working without stopping for many pictures.) I used the opposite cover to mark a cut line 1 1/4″ down from the top of each, then cut and deburred, then used the cut off piece to re-drill the hole pattern in the top of the shortened side. This seemed easier than cutting from the bottom and re-bending the flange as I’ve seen others do.
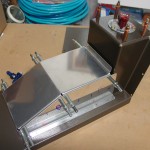
Began work on fuel pump installation, looking at how it will all fit together, and printed off the installation diagrams from Andair’s site for reference.
