11th
June
2010
Lots of stuff done today, mostly focusing on the cabin area: first, a thorough vacuuming session of the whole fuselage to remove all the shavings and other schmutz, then the seat pans were installed with pop rivets. Then I added #30 drain holes just behind each of the rear fuselage bulkheads, and vacuumed again. While I was back there, I riveted the aft end of the armrests, which had been missed previously. I had the fuselage on its side again for most of today’s session…it’s not too hard to pick up the forward end and roll it by hand. Also attached nutplates to the baggage side wall panels and clecoed them in, to get them off the bench.
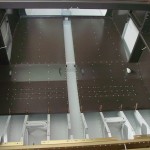
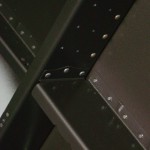
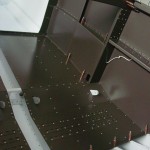
Upper firewall gusset plates riveted in place…over half of these can be done with the squeezer, but I used the gun on the four forward rivets. I may have been able to do them with the long no-hole yoke, but I’ve had mixed results using that on 470-4 rivets before; the extra flex in the longer yoke seems to make them more prone to tipping, rather than setting properly.
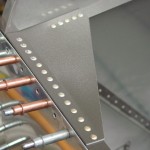
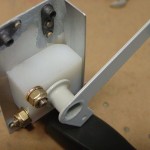
Fabricated the various parts for the manual roll trim assembly, and installed that temporarily. This will come apart later for priming with the next batch, as my trial with the Preval sprayer didn’t go so well–the AFS primer needs to be thinned down quite a bit for it to successfully spray in the unit, and then it lays down extremely heavy, which causes puddles, runs, and poor finish. I should pick up a few cans of Napa 7220 or GBP 988 for little parts like this… After the roll trim assembly was in place, the forward seat pans were clecoed in. (I did drill the roll trim handle as well, but have left it off for now to ease repeated removal/installation of the seat pans.)
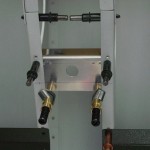
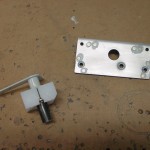
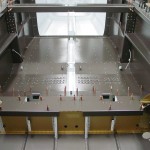
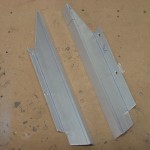
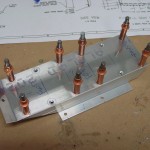
Finally, fabricated the forward tunnel cover, which is made of a piece of .040 sheet and a couple pieces of Z-channel. The sheet is bent to match the angle of the seat pans at the forward end, and the Z-channel is trimmed to fit the various angles and pieces it needs to clear. A nutplate is installed on the seat pan to secure the forward end. Easy enough…this too will come out for priming later.
The next step in the book is to install the various covers and such that go forward of the spar carrythru; I will skip at least some of that for the moment, since I don’t want to box myself in with the installation of the FI boost pump, which requires some modification to the center tunnel cover — I need to order those parts from Vans to rig this up. That means the next big thing is the flap system…first moving parts of the fuselage!
Hours: 7.2 | Posted in Cabin & Interior |
8th
June
2010
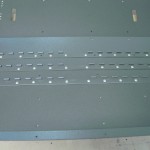
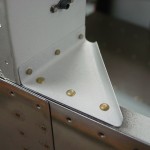
Riveted the seatback hinges to the seat pans; these need to be done with the gun, so making a fixture out of 2×4′s and clamps helps hold things in place for easy access. Also riveted the longeron/bulkhead gussets in place, easily accomplished with the squeezer and various yokes. Also used a roll of emery paper to relieve a couple of the bulkhead notches that were rubbing on the longerons, and spot-primed.
Hours: 1.8 | Posted in Cabin & Interior |
1st
March
2010
Went to the shop after fixing the garage door opener (new drive gear & bushings have it running smoothly again) with the intent of figuring out some antenna doublers, thinking that it would be a good idea to install them while access to the fuselage is easy for dimpling, deburring, and riveting. Stood around staring at it for awhile, pondering, and made no progress on that — wondering if now is really the time, or not. My proposed list of antennas:
- VHF Com 1 and 2 (Comant CI-122 bent whips): install under removable portion of seat pans, behind wing spar, left and right outermost bays of fuselage
- VOR/LOC/GS (Comant CI-157P or CI-158C “cat whiskers”): bottom of tailcone, just behind fwd edge of aft bottom tail skin
- Transponder (DeltaPop): near centerline of tailcone, somewhere aft of F-706 bulkhead [must be +3' from transponder itself]
- ADS-B (DeltaPop): right side fwd fuselage, near front fuel vent [must be +4' from transponder antenna]
- GPS (whatever 430W specifies): top side of fuselage aft of F-706
- GPS2, GPS3 (?): under cowling or aft canopy window?
- ELT (whatever is specified): undecided, perhaps top of fuse or along roll bar
- APRS (VHF com or Loran antenna?): undecided, perhaps opposite of ADS-B, or in a wingtip
Lots of stuff to think about. The two of these where access would be most restricted in the future would be the transponder and the VOR, as they are aft of the cabin area, and perhaps the VHF comms. I’ve looked all over the web and seen many different ways of mounting antennas: some use no doubler, some use a “floating” doubler secured only by the mounting bolts of the antenna itself, some rivet a flat doubler to the skin, some use a flanged doubler riveted to the skin, and some tie a doubler into nearby structure (either with or without riveting to the skin as well). The latter ones seem sturdiest, but are they overkill? I’m probably making this far more complex than it needs to be, but it seemed that this would be the ideal time to put these in, if they were to be riveted to skin and/or structure.
With all that indecision rolling about, I found something easy to do, even though it’s not needed for awhile: I laid out and cut the lightening holes in the seat back supports, and marked their flanges for trimming. And, I drilled a 1/4″ hole in the left side of the 705 bulkhead, just under the longeron, for routing of the static line. Whee.
Hours: 0.5 | Posted in Cabin & Interior |


