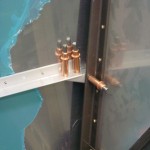
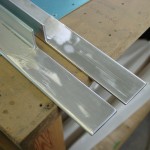
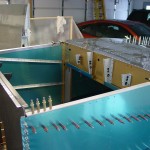
Now that the center fuselage is attached to the tailcone, and the side skins fitted, the forward fuselage must be added to the assembly. This is made up mostly of various chunks of angle that take the thrust produced by the engine and transfer it to the rest of the airframe. First up, I tweaked the bends of the forward portion of the main longerons to match up to the skin, then clamped and drilled them in place. Once drilled, I marked the longerons for the required 3/4″ cut line, removed a few clecos, and trimmed the longerons, then filed the ends smooth. That done, the small straps that connect the top of the 904 bulkhead to the main longerons are cut to length, clamped in place, and drilled.
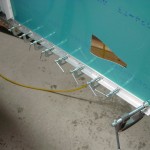
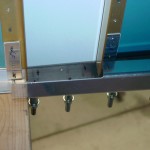
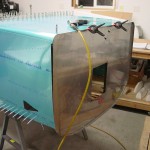
Next, we add the firewall by clamping it to the main longerons. The bottom skin is added, then couple holes are drilled to the firewall assembly to fix it in the proper place. More clamping, measuring and drilling, and the skins are drilled to the firewall. Next we clamp the upper firewall weldments to the main longerons and–after making sure everything still fits well–drill through the weldments. Some 1/8″ rivets are used to hold the skin and longeron in alignment during fitting of the firewall.
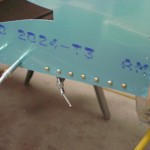
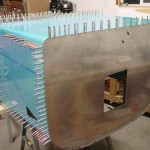
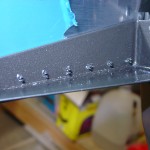
At this point, the firewall location is set, and the bottom skin is removed to allow the structural parts to be added. First up, the auxiliary longerons, which must be twisted, using the same padded-vice-and-big-wrench method used for the main longerons. This is a bit of a trial-and-error process: set the angle in place, eyeball it, go twist, come back, look again, perhaps make a sharpie mark or two, bend again, until it’s fitting nicely in place. Then, clamp it in there and drill. After both left and right auxiliary longerons were in place, I called it a night.
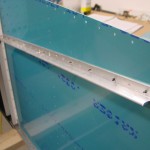
No, it doesn’t sound like over four hours of work, but there are many holes to be drilled, and the thin stainless steel firewall, especially, requires extra care to drill.
