Bulkheads & J-stringers done
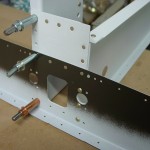
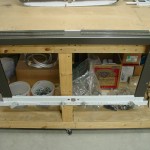
Finished final assembly on the bulkheads by riveting the area around the pitch bellcrank on the baggage bulkhead, and bolting the seatbelt anchors in place. I did realize, looking around the web later on last night, that I riveted the reinforcing angle to the F-728 channel prematurely — when the manual said “leave the 728 channel clecoed for now,” I took that to mean that the 728 assembly was to be clecoed to the bulkhead until later. This is indeed the case, but they also want you to leave the angle off; looking forward in the manual, this appears to be for better access to buck some rivets, though I’m not entirely sure. Since this piece isn’t permanently riveted in place for some time yet, I can always pull it and drill out the couple dozen rivets holding it together.
I do rather like the warm dark brown of the interior paint…just cheap Rustoleum Hammered, Dark Bronze color. I was originally intending something lighter, but this was available, priced right, and Allison chose the color from the various options. It’ll definitely guide upholstery color choices, and perhaps even affect exterior paint color, but that’s all fine. I’ve seen pictures of both light and dark interiors. I like the way the rivets look against the dark paint as well, which is why I’m going to the effort to paint the pieces before assembly.
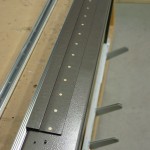
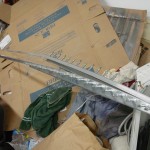
Cut the J-stringers to length, and trimmed the ends to fit the bulkheads…this area is a bit confusing, since the plans show an aft trim detail, but no forward detail…the manual says “trim ends.” Holding things together as they’ll eventually go, it’s clear that the forward ends need to be trimmed as well. (Smitty’s site concurs.) A cutoff wheel in the Dremel makes quick work of the cuts here, and a quick debur of the trimmed ends leaves us ready to begin assembly of the tailcone. (Ok, there is one more middling task–to draw a centerline on each of the J-stringers.)
Hours: 2.1 | Posted in Aft Fuselage | Comments Off


