25th
July
2008
Finally back to the project again, after an insane two weeks. July 10 brought severe weather moving across the area, a tornado 3 miles east of here, and associated straight-line winds. Those winds brought down 5 trees, blew out half the porch windows, and downed our power pole. Five days and one large electrician’s bill later, we were back on the grid. Spent considerable time with a chainsaw cleaning up; thankfully neighbors & friends came by to help out as well. That week was followed up by a 60-hour week on the job, so nothing much was accomplished besides work, eat, and sleep. Today, I was able to temporarily fix up the ignition system on the garden tractor (will need a new coil, but it’s operable), so the light was green for a return to the plane.
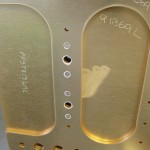
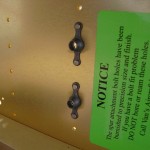
So, the front spar prep is basically complete, with the riveting on of the two nutplates at the inboard end of each spar. Van’s sent out the six missing nutplates after I emailed them about the inventory. Next is prep of the rear spars, then the massive rib deburring task begins.
Hours: 0.1 | Posted in Spars & Skeleton |
8th
July
2008
Finished drilling, deburring, countersinking, priming, and riveting the fuel tank attach nutplates to the lower flange of both spars. Also attached the 24 access panel nutplates. The next step in the manual is to attach the center section nutplates, which go on the spar web near the inboard end of each spar, two per wing. These, I discovered, are the K1000-4 nutplates which were omitted from the kit when I received “Q Bag 1923″ instead of the “Bag 1923″ listed on the packing list. Email sent to Van’s noting the inventory discrepancy. Beyond that is the fabrication & attachment of the tie-down blocks. I have no tap to cut the threads, so that might wait for now. I did drill out the massive spar rivet that had been set in one hole meant for a bolt mounting the tie-down block–I guess someone at the factory just got carried away with the riveting. For now, I guess I’ll have to get down to business and start prepping ribs. Which reminds me…I need to order more scotchbrite supplies and some primer.
Hours: 2.4 | Posted in Spars & Skeleton |
7th
July
2008
More drilling, countersinking, and deburring of spars for fuel tank & access plate nutplates. Completed the bottom of the right spar, and about half of the bottom left. No pictures since it looks the same as yesterday’s work.
Hours: 1.9 | Posted in Spars & Skeleton |
6th
July
2008
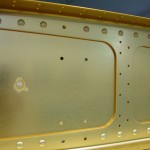
Began work on the wing kit today, by drilling and riveting half of the tank attach nutplates. Completed the upper side of both spars. I made a jig for countersinking the #8 screw holes out of a cut-off piece of 1×1 angle by drilling a nutplate to it, and putting a #30 hole (to match the countersink pilot). Clecoing it to the spar didn’t work, as it blocked the countersink cage, but dropping two rivets in the nutplate attach holes, then fixing the jig in place with a clamp, worked well. This reduced the chattering of the countersink cage, since the pilot doesn’t run out of material as it would if you had only the thickness of the spar flange. It produced decent holes.
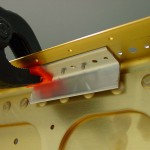
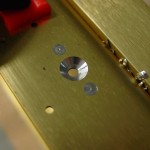
The process – ream the rivet holes to #40, deburr the bottom, countersink the top. Attach the jig and countersink the center hole for the screw, and debur the bottom. Spot prime with a Q-tip dipped in primer. When dry, cleco one leg of each nutplate, rivet the opposite side, then remove clecoes and squeeze the second rivet.
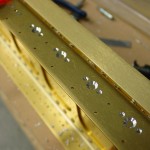
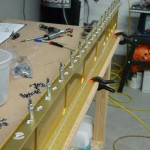
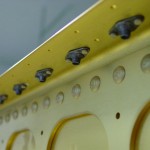
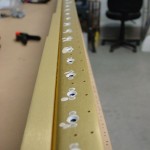
There are 62 tank attach screws/nutplates on each spar, plus inspection plate holes on the bottoms. I also discovered (looking ahead) that one of the holes that should be open to bolt on the tie-down fixture is filled with a rivet on the left spar. I assume this will just get drilled out, but that’s a massive rivet.
Hours: 3.8 | Posted in Spars & Skeleton |


